Arduino Sensor Data Logging and Visualization on iPhone

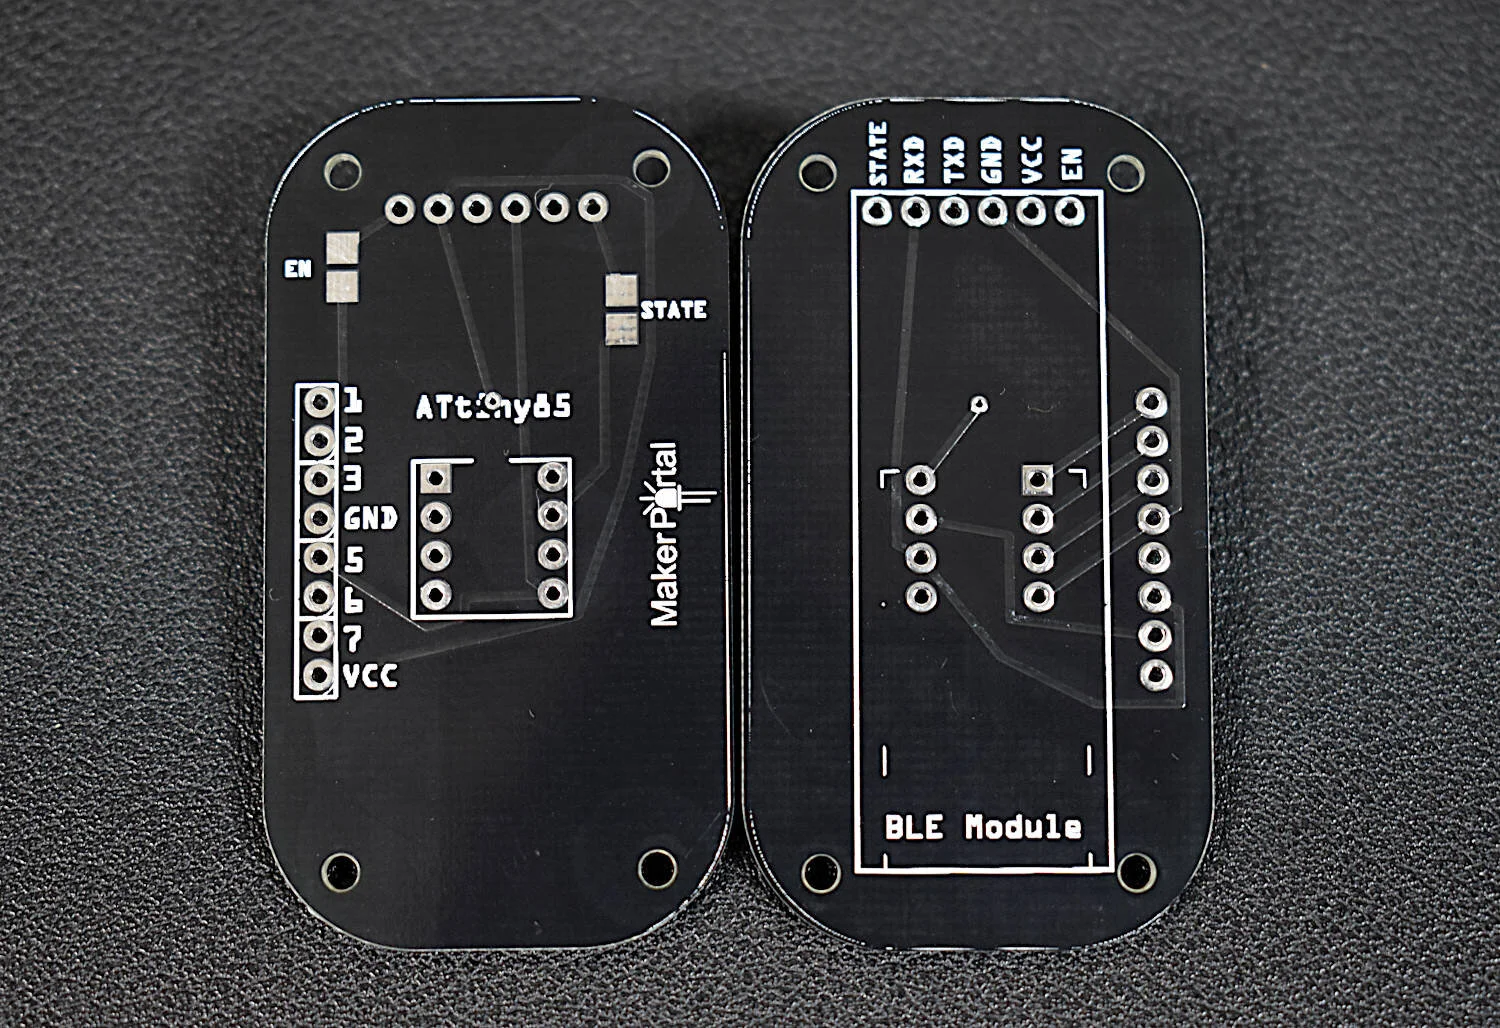
This is the second entry into the tutorial series centered around the MakerBLE Arduino board. Using the BLExAR iOS app again, we are able to monitor the incoming data from the MakerBLE board, plot the values, and save them to a comma-separated value (CSV) file. The data being sent is read from a BMP280 sensor over the I2C port by the MakerBLE board. Temperature, atmospheric pressure, and approximate altitude were all sent over the BLE connection with an iPhone.

Read More
MakerBLE — A Tiny nRF52840 Bluetooth Arduino Board

The MakerBLE is introduced as a miniature breakout board variation of the nRF52840 Bluetooth Low Energy (BLE) Arduino board, which is capable of communicating with smartphnoes and carrying out many of the capabilities of other wirelessly-enabled microcontrollers. The MakerBLE is also compatible with our iOS app, BLExAR, and allows users to collect data, send commands, and control pins remotely from a smartphone. In this tutorial, the MakerBLE will be introduced and its capabilities will be explored from the perspective of the Arduino. This will also be the first in a series of entries geared toward low-power, BLE-enabled, tiny microcontroller projects; whether they involve remote control, data collection from sensors (I2C, SPI, UART), message transfers, BLE peripheral/central communication, or general electronics testing.

Read More
Portable GPS Tracker with Arduino

In the past, we explored the NEO-6M GPS module with Arduino through a few of our tutorials (see: "Comparing iPhone GPS Against NEO-6M with Arduino" and "Arduino GPS Tracker"). In this tutorial, we wanted to push the size limits of the portable GPS tracker by using a mini GPS module called the ATGM336H. The result is a pocket-sized GPS tracker with the low-profile by pairing the ATGM336H module with an Arduino Xiao microcontroller, SD Card Module, and 3.7V LiPo Battery. The prototype developed here will be an autonomous tracker that will record latitude/longitude at roughly 1-10 points per second (1Hz - 10Hz) and needs no external components to track geolocation. The prototype can fit in a users pocket and can track for several hours. We will also present a Python program that will plot the geolocation data points that the user can use to view the route tracked by the Arduino GPS datalogger system. The Python analysis demonstrates how well the ATGM336H GPS module and antenna are able to replicate the walking path of a human with great resolution and accuracy.

Read More
Bluetooth-Enabled e-Paper Display with Arduino

In this tutorial, a 1.54 inch e-Paper module is wired to a BLE-Nano Arduino board to communicates via SPI and display text in real time over Bluetooth. The e-Paper module here can be powered via 3.3V or 5.0V, requires very low power when refreshing (2mA-8mA), and can be completely powered off while retaining its text. An Android smartphone and the BLExAR app will be used to print text on the e-Paper display in real time, demonstrating the capabilities of electronic paper technology.

Read More
An Introduction to RFID with Arduino

Radio Frequency Identification, or RFID, is a widely used technology developed for storing and retriving information in radio frequency-enabled devices. Most often, RFID systems consist of one or multiple RF tags, an RF reader, and a database. In this tutorial series, passive, high frequency (13.56 MHz) RFID tags are the focus, as they are very compact, inexpensive, and require no external battery power. Using an Arduino board, a common RFID reader (MFRC522), and a few RFID tags/cards, we will be exploring methods for reading and writing RFID information in an attempt to understand the how RFID communication works and the limits of the technology.

Read More
Solar Panel Characterization and Experiments with Arduino

In this tutorial, the aim is to characterize a solar panel by varying the load at (near) peak solar insolation to identify the panel's nominal values such as open-circuit voltage, short-circuit current, max power voltage and current, and max power output. These values help users understand the expectations from a photovoltaic array and how their power needs may be met with a given PV system. An Arduino board will be used to log the current and voltage values outputted from a small solar panel. The current and voltage are measured using a 16-bit analog-to-digital converter power module, the INA226, which will allow us to track the power outputted from the photovoltaic panel. A potentiometer acting as a rheostat will serve as the varying load on the system, which will be used to identify the peak power points of the system. Finally, analyses will be conducted in Python 3, which will allow us to identify the peak power region and also the total power outputted over a duration of 24 hours.

Read More
TinyBlueX - A Low Power Bluetooth Arduino Board

The TinyBlueX is a Bluetooth Low Energy-enabled microcontroller module that combines an ATtiny85 microcontroller and CC254x Bluetooth Low Energy chip. The TinyBlueX is compatible with the Arduino platform (IDE) and the BLExAR iOS Arduino app. The TinyBlueX is very low power and has a low profile, which makes it great for very low power internet of things (IoT) applications with analog and digital sensors. The TinyBlueX can read sensors and transmit the data back to an iOS device, while also being able to read iOS commands and control LEDs, indicators, and motors. Pins 2,3,7 are available on the ATtiny85 aboard the TinyBlueX, allowing users to control/read up to 3 different devices or sensors. In this tutorial series, the TinyBlueX will be explored by instructing users on how to upload code to the module, how to control LEDs, and how to send data back to an iOS device using the BLExAR app.

Read More
PCB Design and Fabrication with NextPCB

The printed circuit board (PCB) is at the center of nearly all electronics products in the 20th century. PCBs originally consisted of wires placed along paths connecting a series of components on a rigid board — these were deemed printed wiring boards. Eventually, the printed wiring board morphed into the circuit boards with conducting strips etched into multi-layer boards that we see on PCBs today. The PCB industry is associated with nearly $1 trillion in sales of electronics each year [read more at: "Printed circuit board industry"]. Thus, it is important for engineers to know at least the basics of PCB design, even if the manufacturing is outsourced to companies. In this tutorial, we will introduce the design of a simple PCB and the process required to get the PCB manufactured by a company called NextPCB. Their process is simple and easy, and even allows the engineer to view their design on their online gerber file viewer.

Read More
Water Metering with the WaWiCo USB Kit and Raspberry Pi

For this project, we will be comparing the WaWiCo sensor with a conventional hall-effect mechanical flow meter. The WaWiCo sensor introduces a novel method for water metering, with non-invasive acoustic analysis. The benefit of the WaWiCo method is evident during the mechanical flow meter analysis, where we need to match pipe diameters and fittings and ensure that the flow terminates at a point. Otherwise, mechanical meters require cutting in piping — which is not an option for many users. Using a Raspberry Pi computer and a WaWiCo USB water meter kit, the frequency content of water flow for a given pipe is analyzed. Additionally, this frequency response will be used to correlate to the flow rate (in L/s) approximated by the mechanical flow meter. This brings us one step closer to being able to non-invasively measure water flow using the WaWiCo method.

Read More
WS2812 LED Ring Light with Raspberry Pi Pico

This is the second entry into the Raspberry Pi Pico tutorial series dedicated to exploring the capabilities of the Raspberry Pi Foundation's groundbreaking new Pico microcontroller. A WS2812 RGB LED is controlled via the programmable I/O system (PIO) on the Pico microcontroller. The code and methods used to control the WS2812 are based on Raspberry Pi Pico Micropython SDK the project entitled "Using PIO to drive a set of NeoPixel Ring (WS2812 LEDs)." A state machine is used on the Pico to control the WS2812 LED array, which allows users to test a range of algorithms that affect the ring light. The light mappings will subsequently be capable of emulating the LED effects similar to those demonstrated by the Amazon Alexa or Google Home devices. A universal wiring diagram is given that allows for any number of LEDs to be wired to the Pico, which we tested up to 60 LEDs.

Read More
Listening to Your Pipes with a MEMS Microphone and Raspberry Pi

A new type of water meter produced by Water Wise Controls (WaWiCo) introduces a novel method for water metering: non-invasive acoustic analysis. Their USB water metering kit allows users to listen to their pipes without the need for plumbing work. In this tutorial, the acoustic profile of a piping system will be explored using a Raspberry Pi computer, the Python programming language, and a WaWiCo USB water meter kit. The resulting analysis will allow users to identify the acoustic profile of their piping system and determine when water is flowing. This is the first of a series of entries into non-invasive water metering from WaWiCo, where open-source technologies will be used to characterize a piping system based on the acoustic profile of a user's home or apartment.

Read More
3 Intermediate-Level Arduino Projects to Try at Home

Three different intermediate-level Arduino projects are introduced as a way of exploring the capabilities of the open-source microcontroller platform. First, an Arduino-based gimbal was proposed, with a video demonstration using the MPU6050 inertial measurement unit (IMU). Many commercial gimbals use similar sensors and methods for balancing objects and controlling angular and translational movement. Second, a mechanum wheels robot was presented as a way of creating a more omnidirectional robotic car, vs the normal one-dimensional movement associated with Arduino and robotic cars. Finally, an Arduino-based hovercraft was shown with motors and an Arduino at the center.

Read More
An Introduction to the Raspberry Pi Pico with MicroPython

The Raspberry Pi Pico was recently released by the Raspberry Pi Foundation as a competitive microcontroller in the open-source electronics sphere. The Pico shares many of the capabilities of common Arduino boards including: analog-to-digital conversion (12-bit ADC), UART, SPI, I2C, PWM, among others. The board is just 21mm x 51mm in size, making it ideal for applications that require low-profile designs. One of the innovations of the Pico is the dual-core processor, which permits multiprocessing at clock rates up to 133 MHz. One particular draw of the Pico is its compatibility with MicroPython, which is chosen as the programming tool for this project. The focus on MicroPython, as opposed to C/C++, minimizes the confusion and time required to get started with the Pico. A Raspberry Pi 4 computer is ideal for interfacing with the Pico, which can be used to prepare, debug, and program the Pico. From start to finish - this tutorial helps users run their first custom MicroPython script on the Pico in just a few minutes. An RGB LED will be used to demonstrate general purpose input/output of the Pico microcontroller.

Read More
Raspberry Pi Stepper Motor Control with NEMA 17

The NEMA 17 is a widely used class of stepper motor used in 3D printers, CNC machines, linear actuators, and other precision engineering applications where accuracy and stability are essential. The NEMA-17HS4023 is introduced here, which is a version of the NEMA 17 that has dimensions 42mm x 42mm x 23mm (Length x Width x Height). In this tutorial, the stepper motor is controlled by a DRV8825 driver wired to a Raspberry Pi 4 computer. The Raspberry Pi uses Python to control the motor using an open-source motor library. The wiring and interfacing between the NEMA 17 and Raspberry Pi is given, with an emphasis on the basics of stepper motors. The DRV8825 control parameters in the Python stepper library are broken down to educate users on how the varying of each parameter impacts the behavior of the NEMA 17. Simple characteristics of stepper control are explored: stepper directivity (clockwise and counterclockwise), step incrementing (full step, half step, micro-stepping, etc.), and step delay.

Read More
Distance Detection with the TF-Luna LiDAR and Raspberry Pi

The TF-Luna is an 850nm Light Detection And Ranging (LiDAR) module developed by Benewake that uses the time-of-flight (ToF) principle to detect objects within the field of view of the sensor. The TF-Luna is capable of measuring objects 20cm - 8m away, depending on the ambient light conditions and surface reflectivity of the object(s) being measured. A vertical cavity surface emitting laser (VCSEL) is at the center of the TF-Luna, which is categorized as a Class 1 laser, making it very safe for nearly all applications [read about laser classification here]. The TF-Luna has a selectable sample rate from 1Hz - 250Hz, making it ideal for more rapid distance detection scenarios. In this tutorial, the TF-Luna is wired to a Raspberry Pi 4 computer via the mini UART serial port and powered using the 5V pin. Python will be used to configure and test the LiDAR module, with specific examples and use cases.

Read More
Audio Processing with The QuadMic 4-Microphone Array on the Raspberry Pi

The QuadMic Array is a 4-microphone array based around the AC108 quad-channel analog-to-digital converter (ADC) with Inter-IC Sound (I2S) audio output capable of interfacing with the Raspberry Pi. The QuadMic can be used for applications in voice detection and recognition, acoustic localization, noise control, and other applications in audio and acoustic analysis. The QuadMic will be connected to the header of a Raspberry Pi 4 and used to record simultaneous audio data from all four microphones. Some signal processing routines will be developed as part of an acoustic analysis with the four microphones. Algorithms will be introduced that approximate acoustic source directivity, which can help with understanding and characterizing noise sources, room and spatial geometries, and other aspects of acoustic systems. Python is also used for the analysis. Additionally, visualizations will aid in the understanding of the measurements and subsequent analyses conducts in this tutorial.

Read More
Thermal Camera Analysis with Raspberry Pi (AMG8833)

The AMG8833 infrared thermopile array is a 64-pixel (8x8) detector that approximates temperature from radiative bodies. The module is wired to a Raspberry Pi 4 computer and communicates over the I2C bus at 400kHz to send temperature from all 64 pixels at a selectable rate of 1-10 samples per second. The temperature approximation is outputted at a resolution of 0.25°C over a range of 0°C to 80°C. A real-time infrared camera (IR camera) was introduced as a way of monitoring temperature for applications in person counting, heat transfer of electronics, indoor comfort monitoring, industrial non-contact temperature measurement, and other applications where multi-point temperature monitoring may be useful. The approximate error of the sensor over its operable range is 2.5°C, making is particularly useful for applications with larger temperature fluctuations. This tutorial is meant as the first in a series of heat transfer analyses in electronics thermal management using the AMG8833.

Read More
Calibration of a Magnetometer with Raspberry Pi

In this tutorial, methods for calibrating a magnetometer aboard the MPU9250 is explored using our Calibration Block. The magnetometer is calibrated by rotating the IMU 360° around each axis and calculating offsets for hard iron effects. Python is again used as the coding language on the Raspberry Pi computer in order to communicate and record data from the IMU via the I2C bus. The second half of this tutorial gives a full calibration routine for the IMU's accelerometer, gyroscope, and magnetometer. The final implementation will allow for moderate (first-order) calibration of the MPU9250 under reasonable conditions, requiring only the calibration block and IMU. Finally, the complete final code will save the coefficients for each sensor for future use in direct applications without the need for constant calibration. The use of the calibration coefficients will allow for improved estimates of orientation, displacement, vibration, and other relevant control and measurement analyses.

Read More