Arduino Internet of Things Part 5: Raspberry Pi as a Smart Hub for Sending Data to Google Sheets
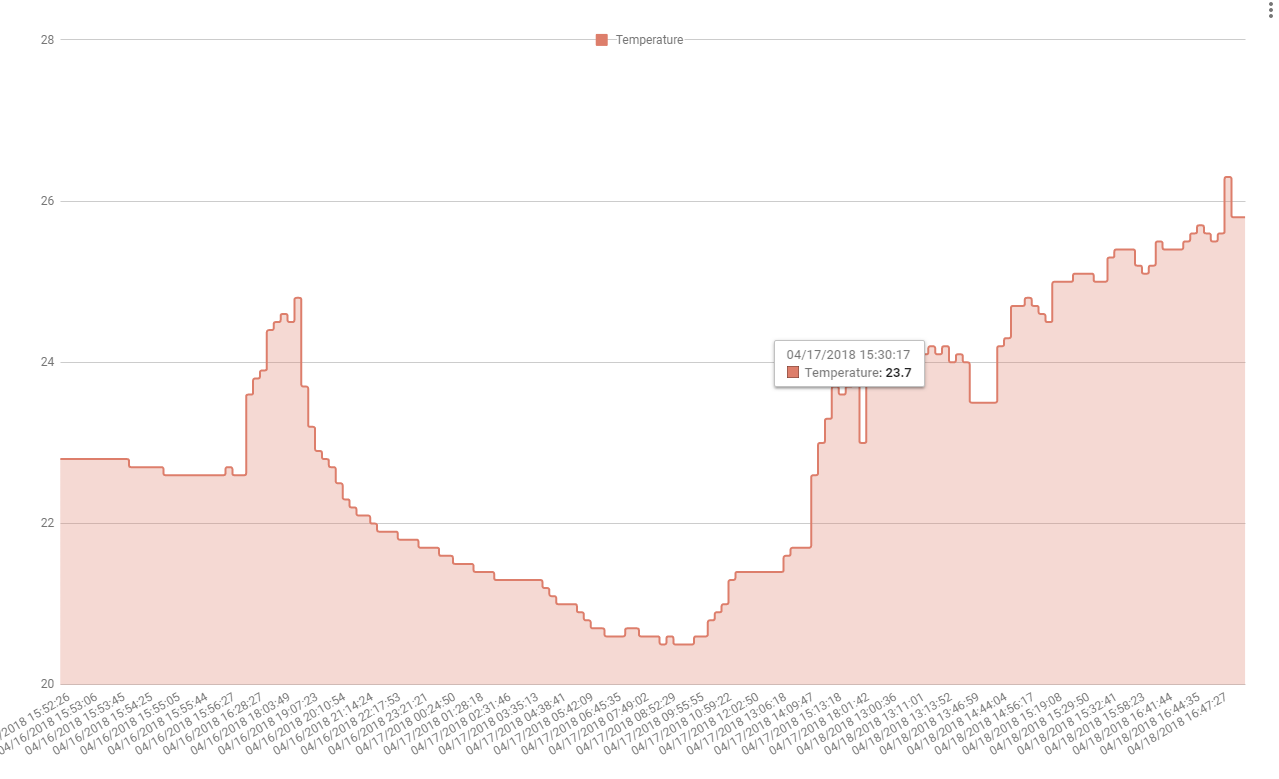
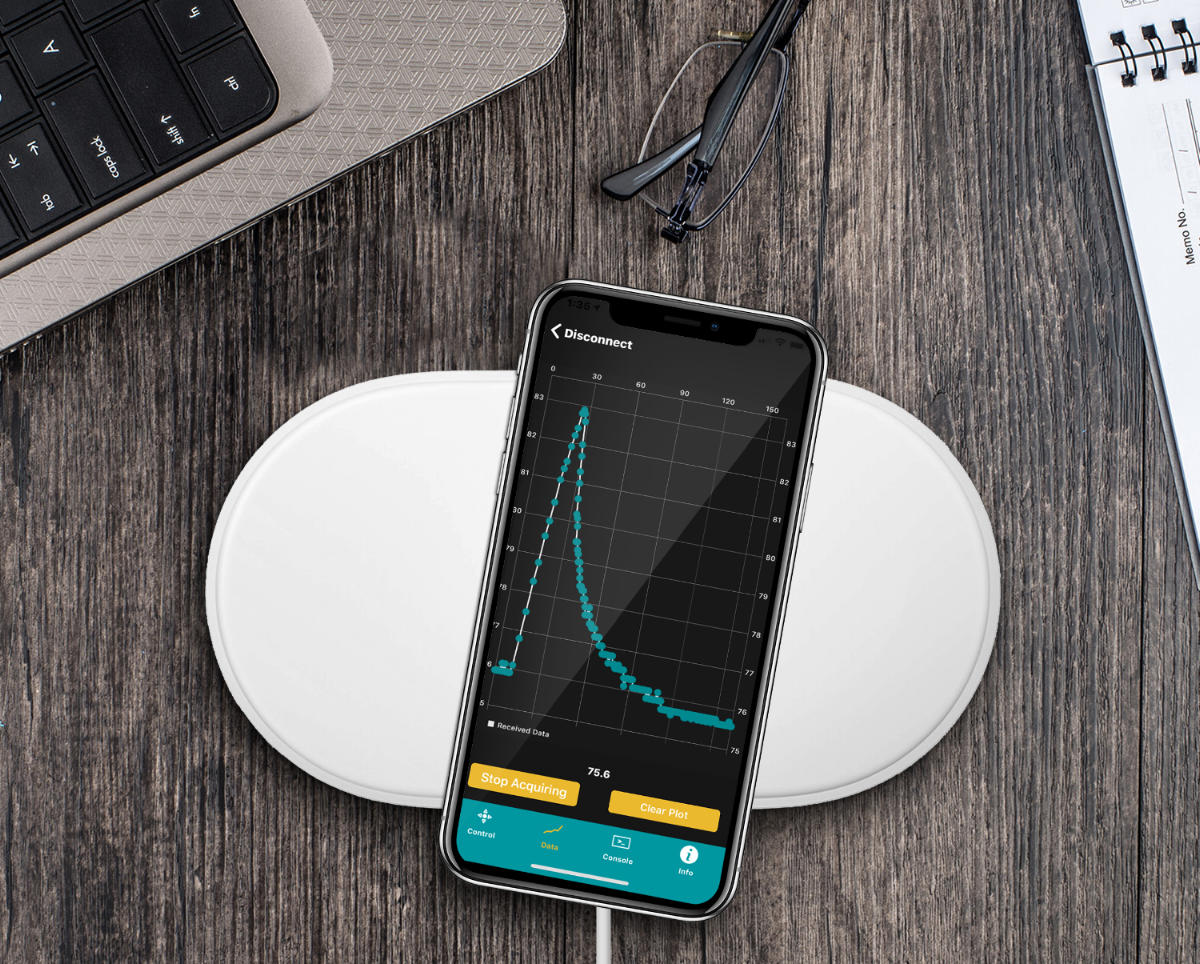
Figure 1: Example of a real-time plot produced by the BME280 sensor data uploaded to Google Sheets by the Raspberry Pi.
In this final installment of the 5-part Arduino Internet of Things series, I focus on receiving data from Bluetooth Low Energy devices and uploading that data to the internet via the Python library 'gspread.' The 'gspread'library permits the user to upload data in near real-time to create a true Internet of Things through the Google Drive and Google Sheets APIs. In this example, I will use Adafruit's BME280 environmental sensor to transmit three variables to the Pi: temperature, humidity, and barometric pressure. When the Pi receives the data, it will upload those three variables along with a timestamp to a Google Sheets document created by the user. The difficulty of this tutorial arises when obtaining authorization from Google to permit free transfer of data between your Raspberry Pi (Python) and Google Drive account. An example plot of the real-time data is show in Figure 1 using the process outlined below.
Raspberry Pi + Arduino Internet of Things Process Flow
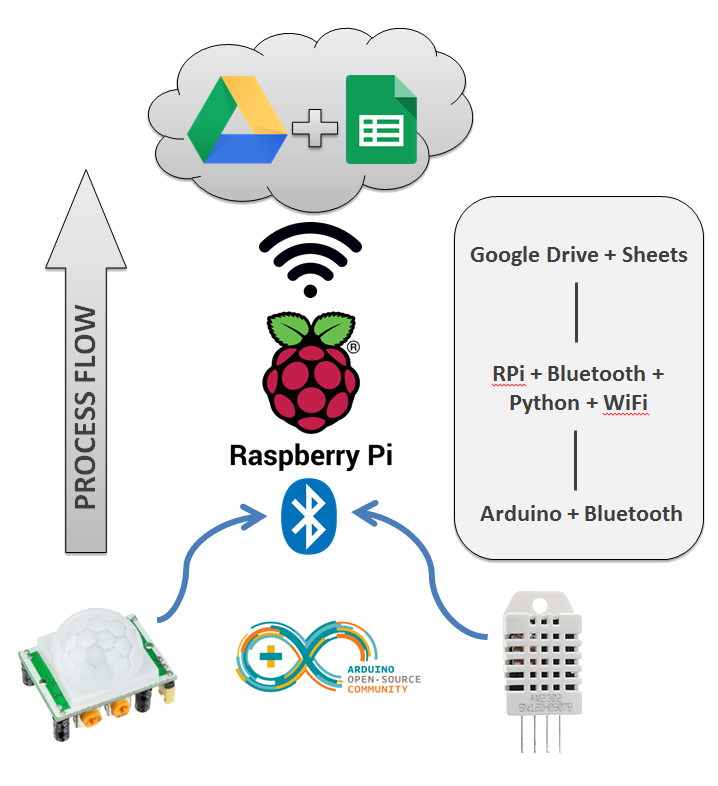
Figure 2: Process flow illustrating the rough outline of how data is handled during the functioning Arduino/Raspberry Pi Internet of Things.
Setting-Up Google Sheets For API Access
Figure 2 above shows the intricate workflow of the Internet of Things using Raspberry Pi and Arduino nodes. With Python's gspread' API, Google Sheets and Google Drive are accessed to upload data in real-time to a spreadsheet. Now, this may seem like a complex system - and it is. However, in the last tutorial we handled a lot of the Bluetooth Low Energy (BLE) interactions, so our focus here is on integrating that data into a Google spreadsheet to create data accessible anywhere in the world.
A great Google Drive tutorial can be found here that explores the 'gspread' library (docs on the library, here). I follow the process outlined on that site nearly word-for-word, but with a few variations for Raspberry Pi.
Obtaining Credentials for Remote Spreadsheet Access
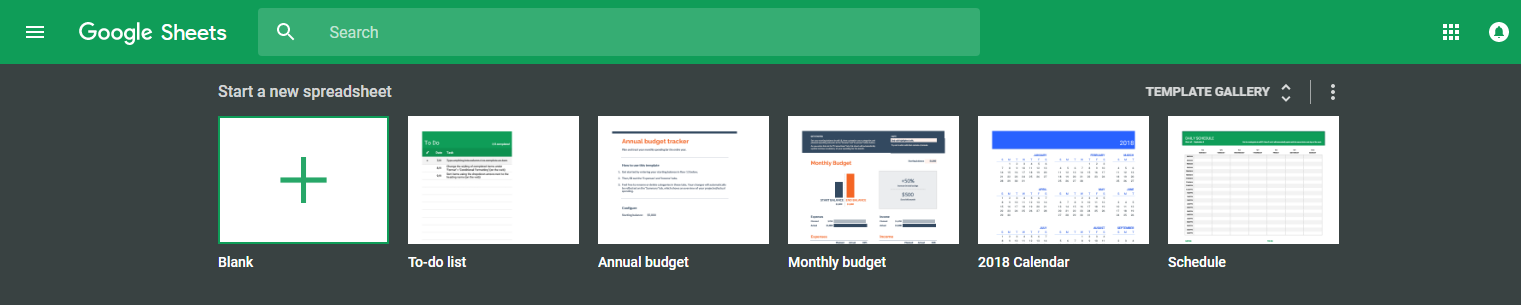
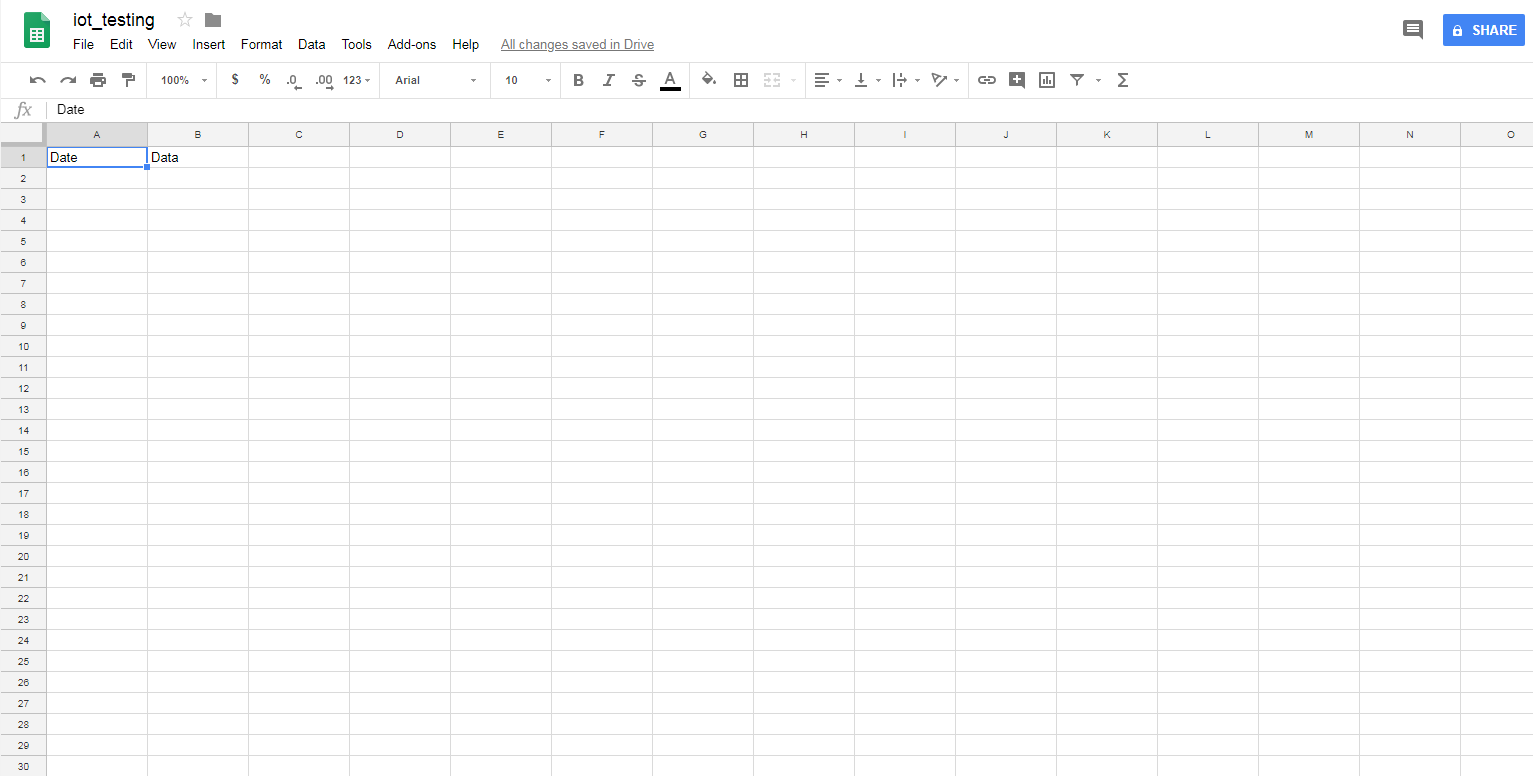
-First, you'll want to start a new Blank spreadsheet in your Google Drive:
-You'll also want to rename it something related to the project and even include Date/Data columns:

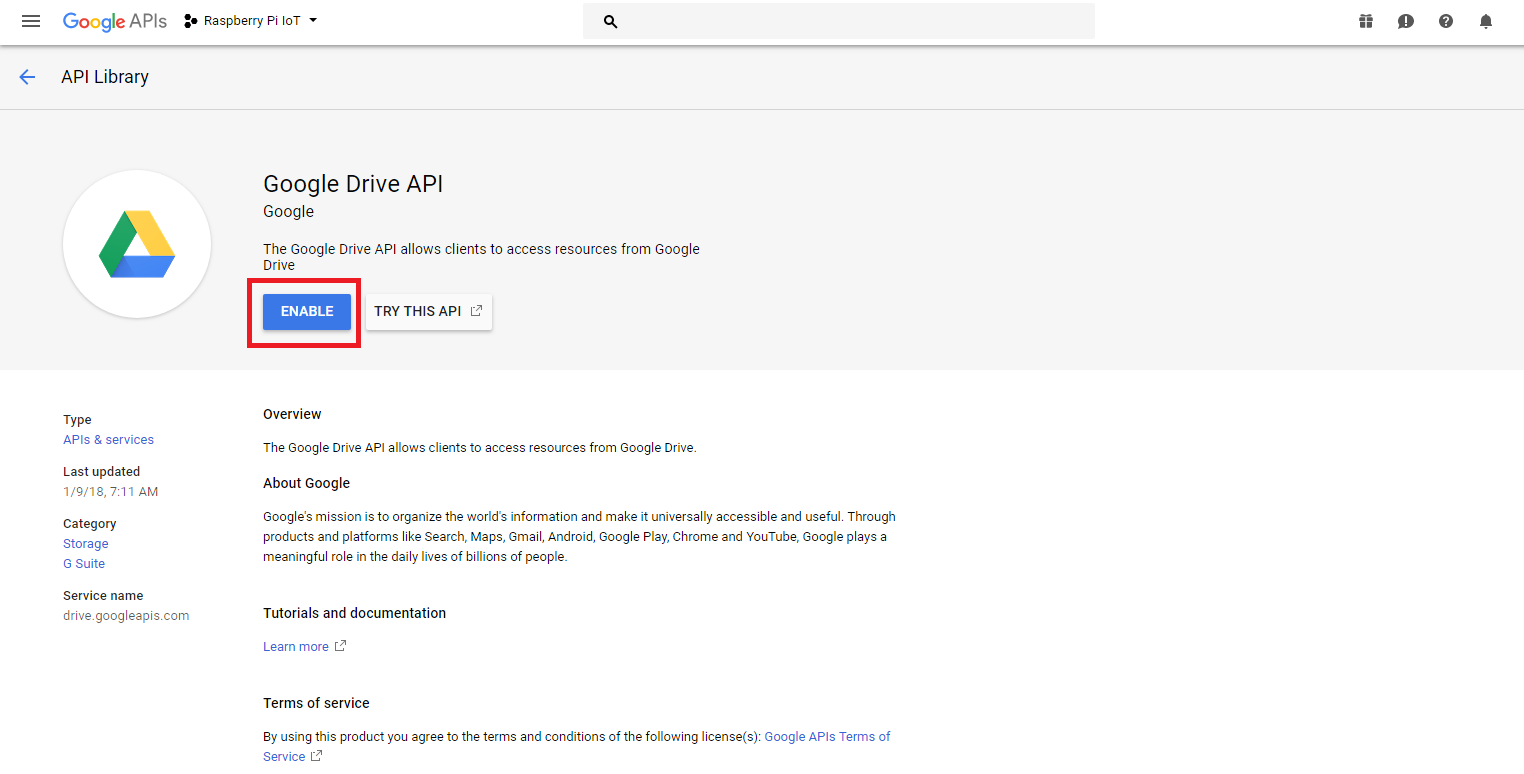
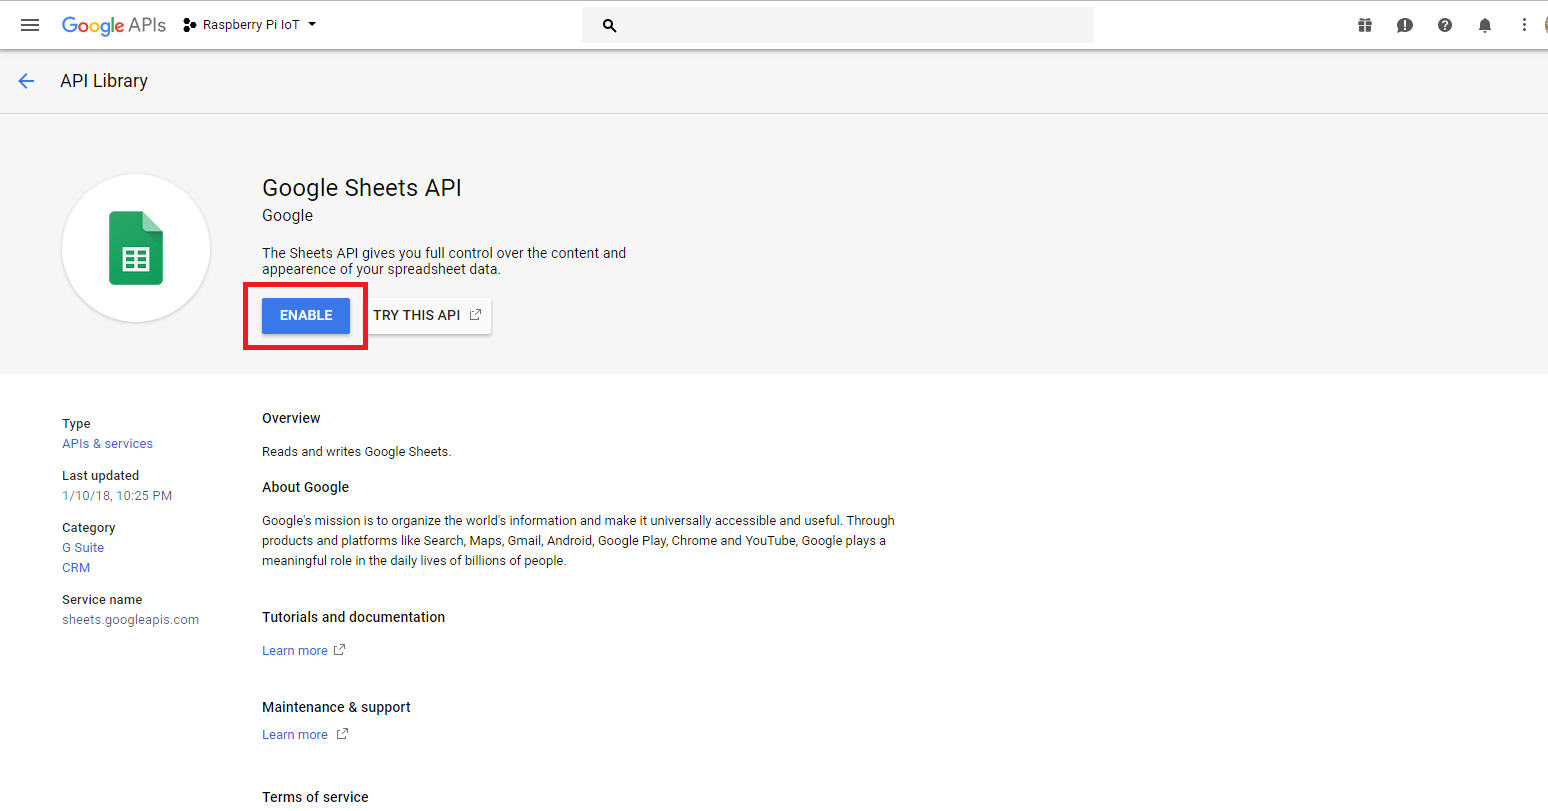
-Next, you want to head to the Google API page (here) and ensure that you create a project:

-Then, click on 'ENABLE APIS AND SERVICES' and click 'ENABLE' for both Google Drive and Sheets
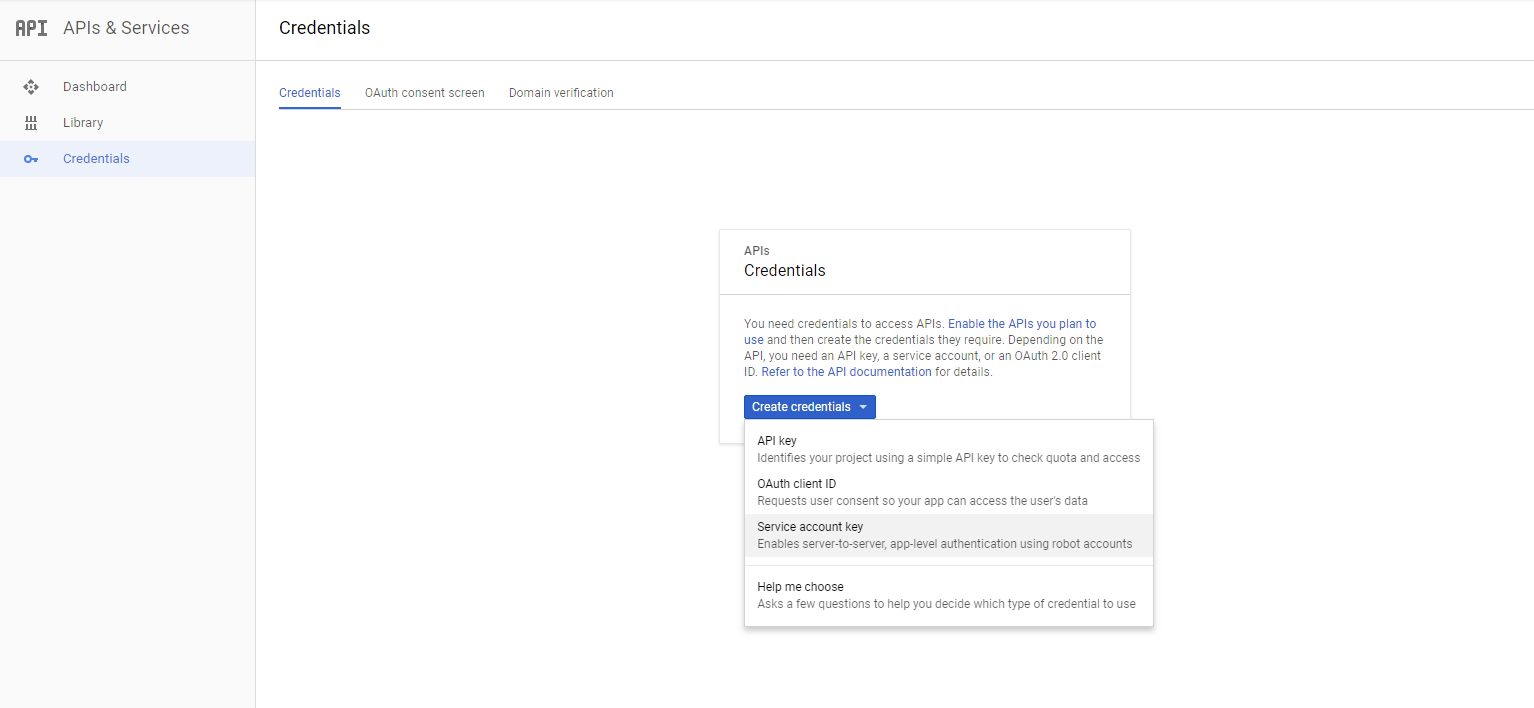
- This should create your needed approval for both APIs. Your dashboard should now look like this:

Now, you need to create the credentials that your Pi will use to edit the Drive document:
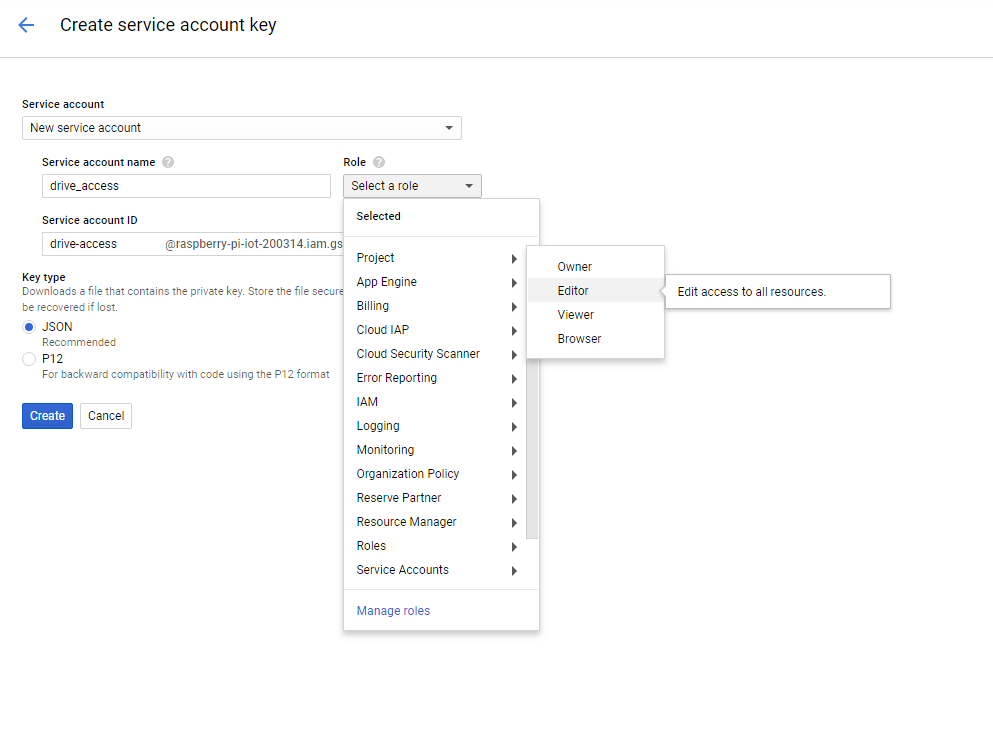
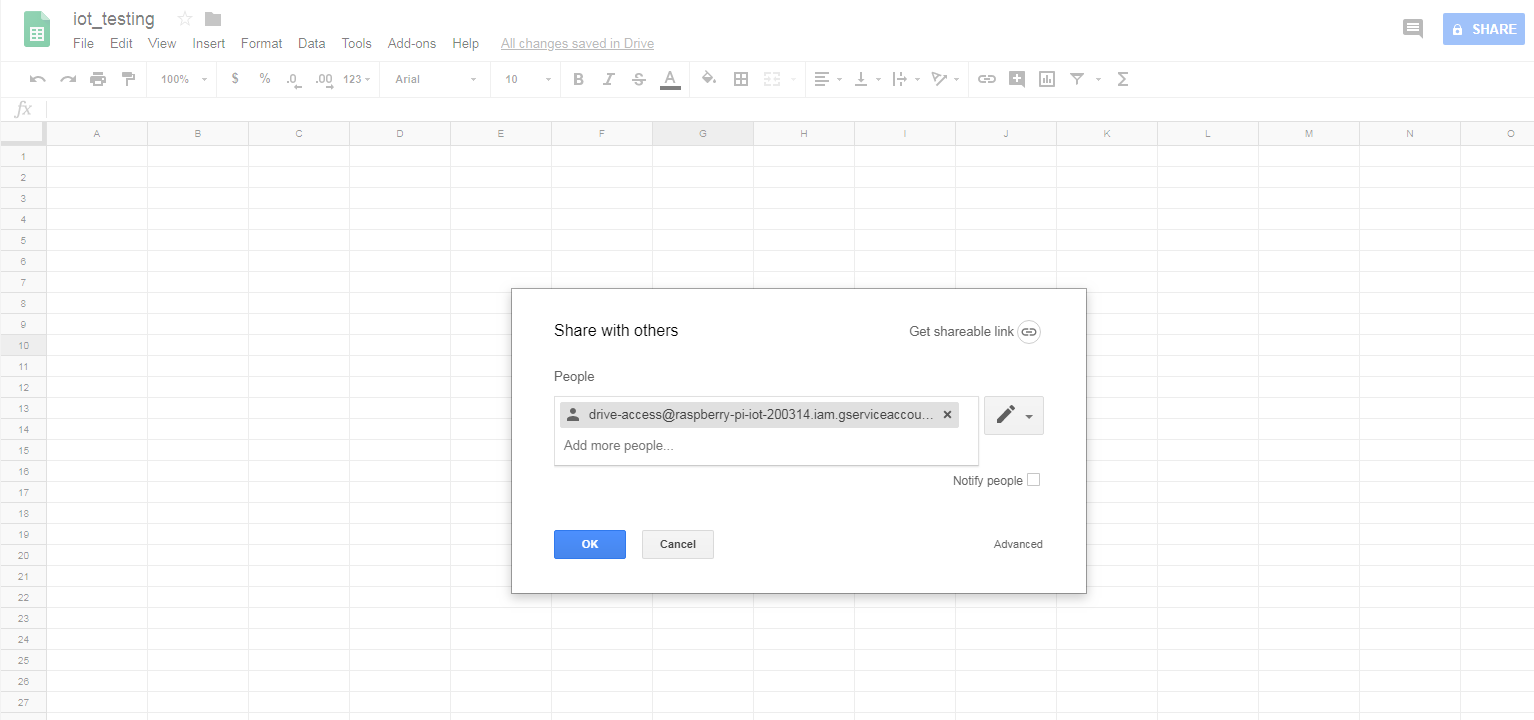
-Now, you will need to open the downloaded .json file and copy the 'client_email' and share that email with your previously created Google Sheets document (that is named something like 'iot_testing').

YOU MUST SHARE JSON EMAIL KEY WITH GOOGLE SHEET DOC OR IT WON'T WORK
Setting-Up Raspberry Pi For Google Drive and Sheets Access
Now that we have created credentials for Google Drive and Google Sheets, we can access those APIs on the Raspberry Pi using Python. First, you must install gspread and Oauth2 onto the Pi. I use Python 3.xx, so I'll be using pip3:
sudo pip3 install gspread oauth2client
Note: Oauth2Client has issues with Raspberry Pi and Python, so if you are getting an oauth2client error, try upgrading the google lib:
sudo pip3 install --upgrade google-auth-oauthlib
At this point, your Pi and Google account should be synced-up to allow remote updating of your google document. Remember that you must keep your .json credentials file accurately referenced whenever you are using the 'gspread' library. That is why it's a good idea to keep the .json file in the same folder as your Python script.
Now that the system is setup, try running a simple Python script that prints dummy values into your spreadsheet. Below is a simple script I used that prints the current time and two numbers into three separate columns within the spreadsheet.
import gspread
from oauth2client.service_account import ServiceAccountCredentials
import time

scope = ['https://spreadsheets.google.com/feeds','https://www.googleapis.com/auth/drive']

client = gspread.authorize(creds)

sheet = client.open("iot_testing").worksheets()

for ii in sheet:
  print(ii.title)
  curr_time = time.localtime()
  time_str = time.strftime("%m/%d/%Y %H:%M:%S",curr_time)
  ii.append_row([time_str,22,50])
Running this script once should produce the following in your Google spreadsheet:

If you don't see the values populating your spreadsheet, then go back and verify that all of the steps above have been followed. It is likely there is an error with enabling one of the APIs, an error in the credential file, or you did not share the 'client_email' with your spreadsheet.
Setting-Up The BME280 Environmental Sensor
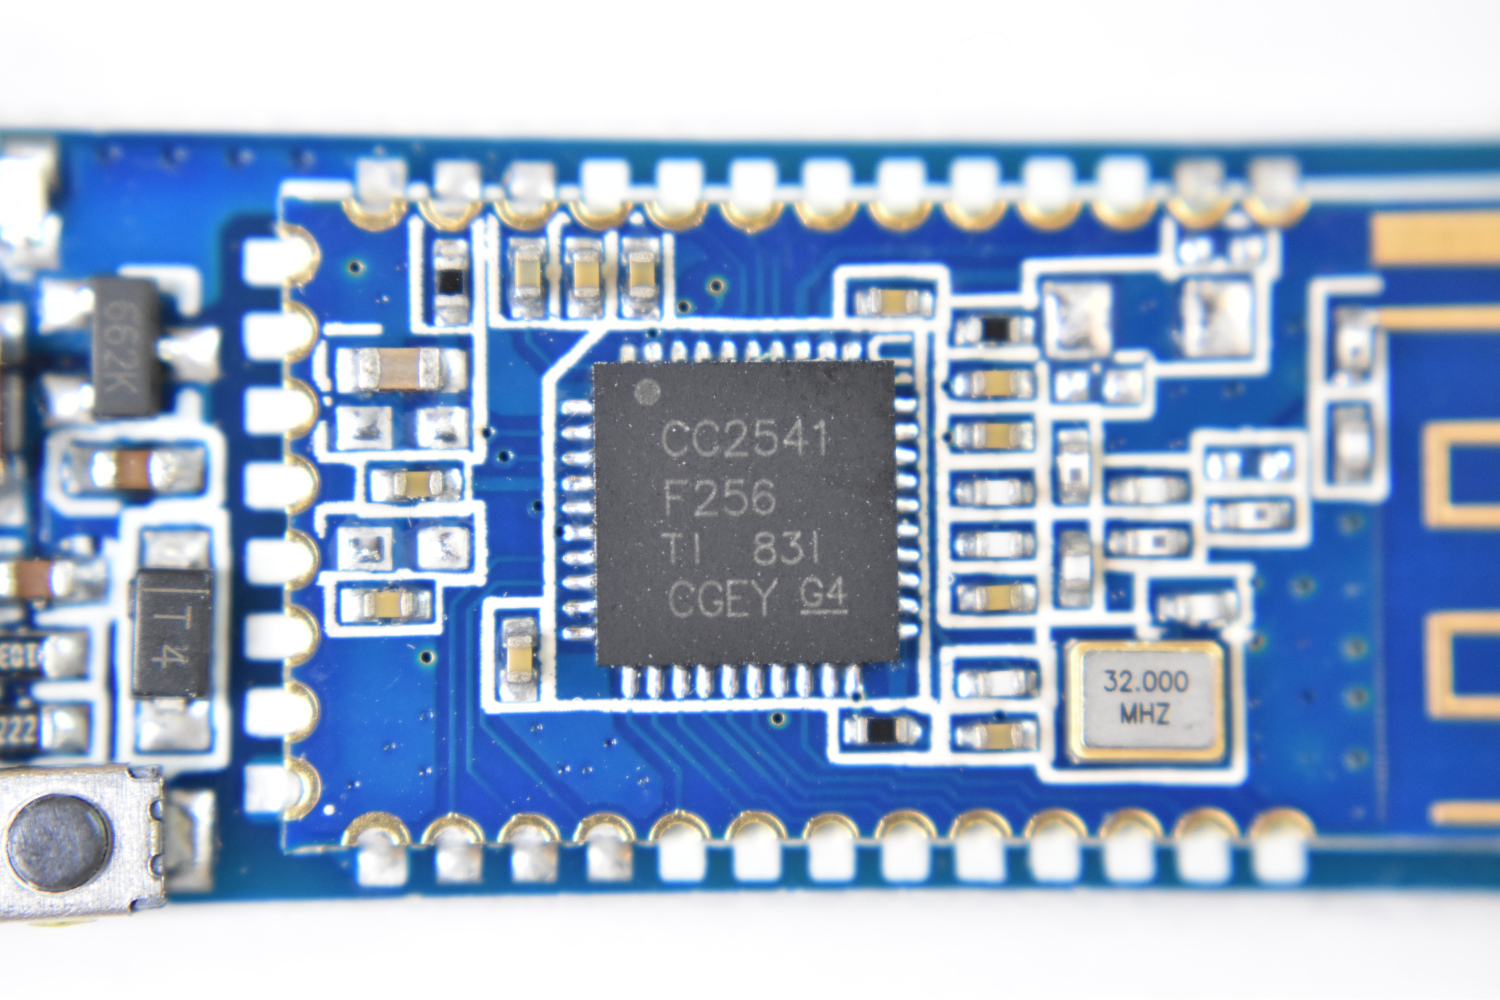
I will be using Adafruit's BME280 environmental sensor to send temperature, humidity, and barometric pressure data to the Raspberry Pi via Bluetooth. Adafruit's tutorial for the BME280 can be found here. Be sure you have tested the sensor before continuing as I will only be adding a Bluetooth HM-10 module to that setup. The wiring for my setup can be found below:

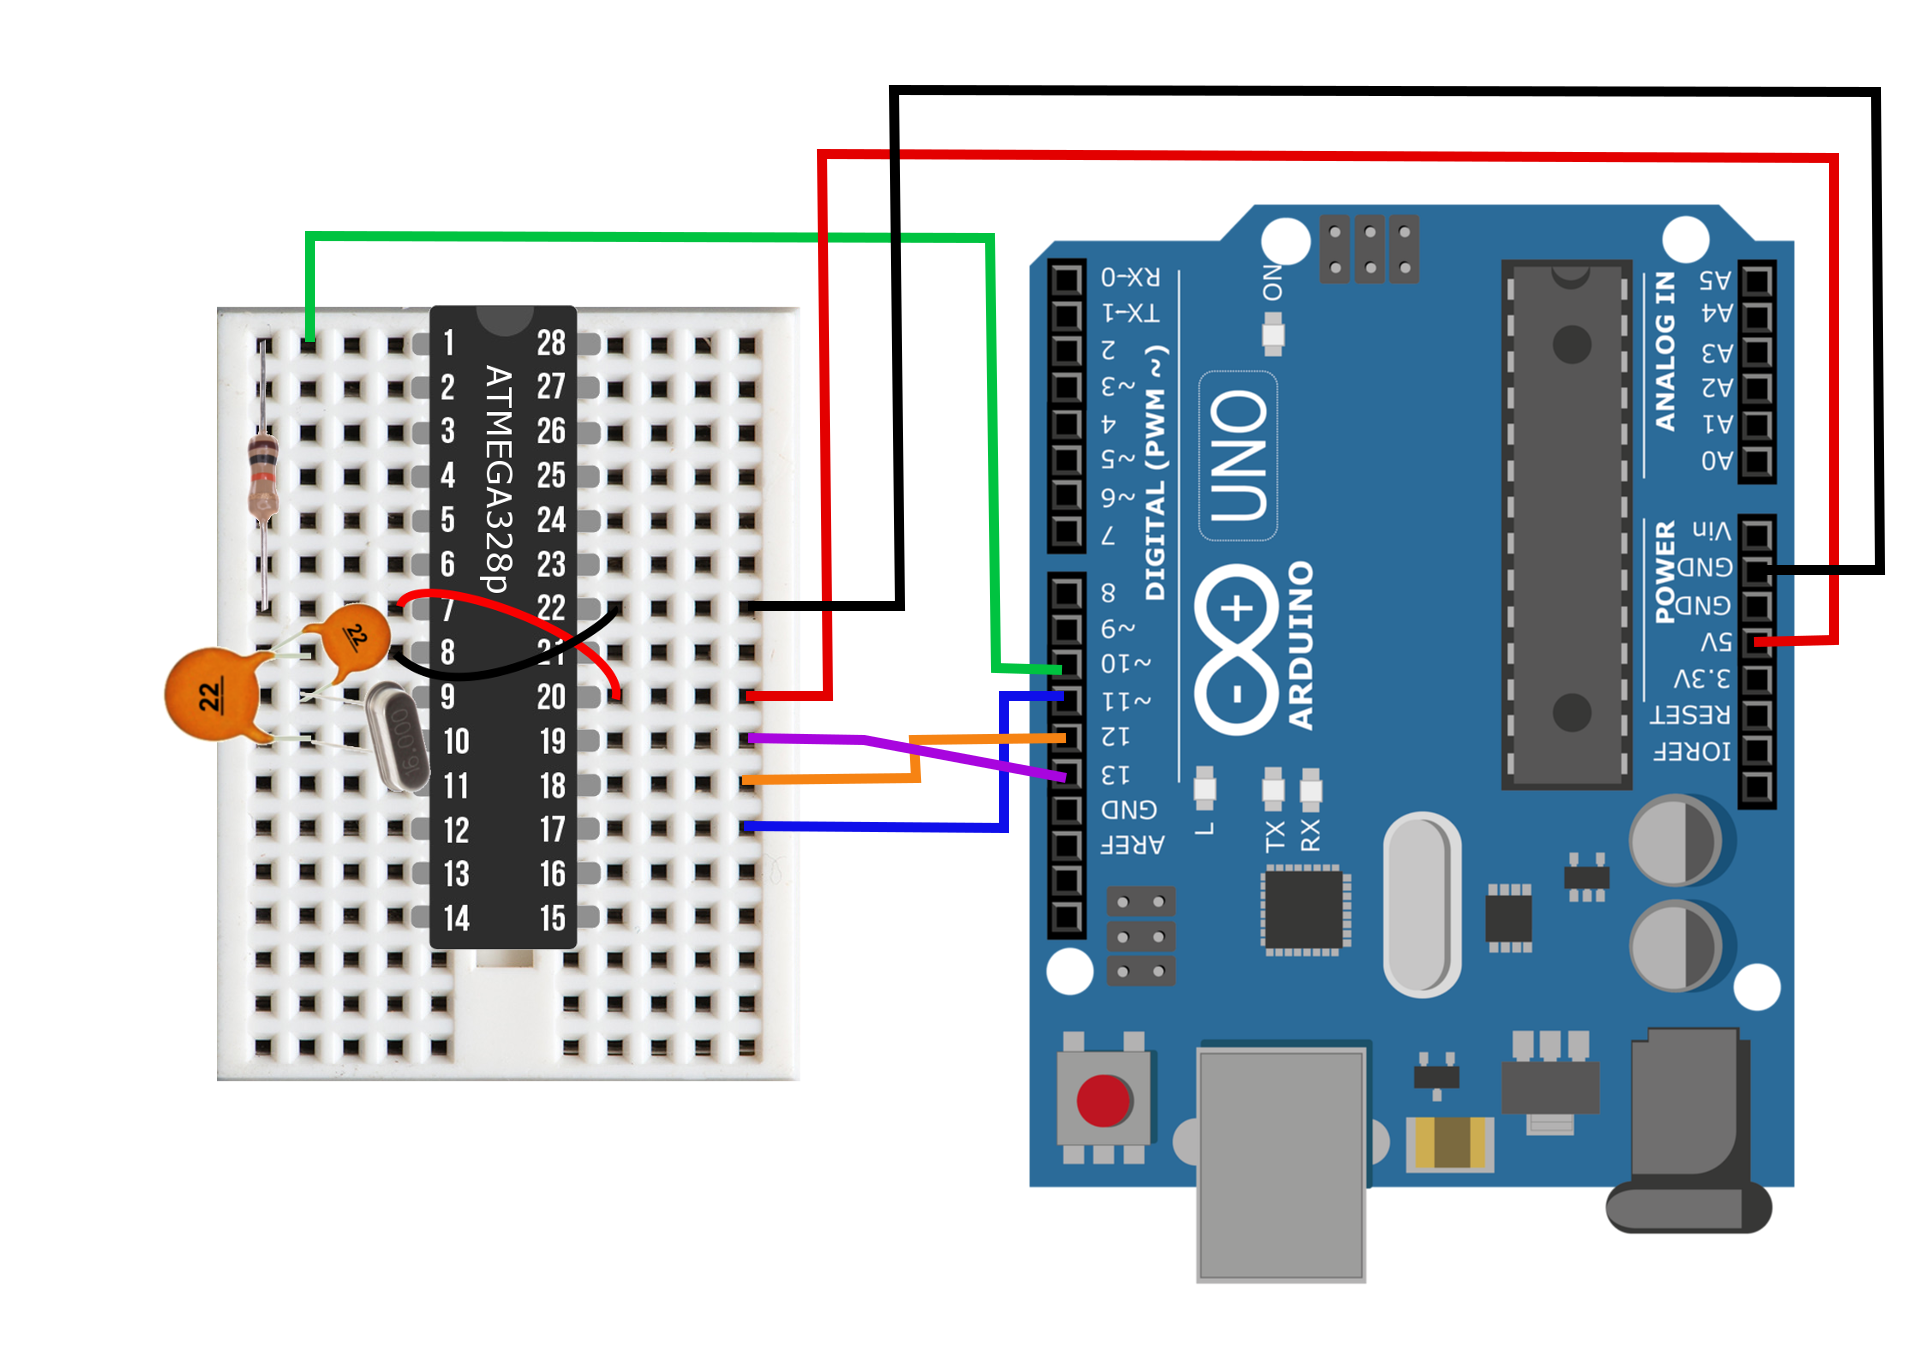
Figure 3: Arduino with BME280 and HM-10 wiring for data transmission to the RPi.
The code used in my case is a continuation of the BME280 example, armed with the HM-10 serial communication used in my previous Arduino Internet of Things entries. Here, I transmit all three data points to the Pi all at once, separated by a semi-colon. Below is my Arduino BLE code:
#include <LowPower.h> // low power sleep
#include <SoftwareSerial.h> //serial communication for bluetooth
#include <Wire.h>
#include <Adafruit_Sensor.h>
#include <Adafruit_BME280.h>

#define SEALEVELPRESSURE_HPA (1013.25) // this number should be updated based on observations

Adafruit_BME280 bme; // I2C

SoftwareSerial ble(6,5); // wiring for BLE RX/TX

// Allocating memory for data/BLE transmission
char temp_output[5];
char hum_output[5];
char pres_output[5];
char ble_dat_send[24];

float temp;
float hum;
float pres;

void setup() {

  bool status;
  ble.begin(9600);
  status = bme.begin();
  // wait for BME280 to register
  if (!status){
    while(1);
  }
}

void loop() {
  // looping for values
  temp = bme.readTemperature();
  dtostrf(temp,3,1,temp_output);

  pres = bme.readPressure()/100.0F;
  dtostrf(pres,3,1,pres_output);

  hum = bme.readHumidity();
  dtostrf(hum,3,1,hum_output);

  // change data from float to char array for BLE
  strcpy(ble_dat_send,temp_output);
  strcat(ble_dat_send,";");
  strcat(ble_dat_send,hum_output);
  strcat(ble_dat_send,";");
  strcat(ble_dat_send,pres_output);

  ble.write(ble_dat_send); // write BLE (send to Pi)
  delay(100);

  // Sleep routine (113 ~ 15 min)
  for(int ii;ii<113;ii++){
    LowPower.powerDown(SLEEP_8S, ADC_OFF, BOD_OFF);
  }
  delay(200); // allow the system to wake
}
The above code sends the three variables every 15 minutes: temperature, humidity, and barometric pressure. You can alter the value of 'ii<113' to increase the data rate of the BME280, should you want to test the system more thoroughly. In the next section, I link to my full IoT Python code to allow you to receive the environmental data on the Raspberry Pi end and populate the Google spreadsheet. The code is quite involved and fairly difficult, so I do not go throug line-by-line, but I discuss the expected outcome and show an example of my results.
Using the BME280 to Populate Google Sheets
At this point, you should have a working BLE sensor that is transmitting data every 15 minutes (or your own equivalent BLE sensor sending data at your desired interval). Now we need to use Python to split the data into rows and upload the data to Google Sheets via 'gspread.' The final Python code can be found here. I won't cover the code because it is 125 lines with multiple functions, libraries, and loops. However, I recommend if you have trouble understanding, refer to the Python documentation - as it is quite helpful. In short, the code allows the user to input the address of their Bluetooth device, the title of the spreadsheet and its workbooks, and then populates the spreadsheet with the values received from Arduino Bluetooth Low Energy devices.
In the end, you should create a spreadsheet that looks similar to the one below. I have also added charts that visualize the real-time data (and also update in real-time). These charts can be embedded into websites to create a full-scale embedded Internet of Things.

Final Arduino Internet of Things Conclusion
Admittedly, this series centered on an Arduino-based Internet of Things was robust and intensive - perhaps to a fault. When I started this project, it was a fun way to show makers how to get started with making your own Arduino using an ATmega328P chip and a breadboard. Now, with five installations that range from Arduino interrupts, low-power libraries, Python Bluetooth libraries, asynchronous multi-processing, and several other difficult concepts - the project has evolved into a beast of an accomplishment. I acknowledge that the latter sections of this series may not appeal or be approachable to many, however, they are benchmarks and contain useful information for any maker that may be interested in the parts, but not the whole.
This series also functions as documentation for myself and anyone else who may encounter issues pertaining to Arduino, Python, or Bluetooth communication with the Raspberry Pi. My hope is that I can one day take this project and fully develop a smart system using these parts as a guideline. An even better solution would be for someone or many to elaborate upon the work shown here and create something wonderful relating to Raspberry Pi and Arduino.
Overall, I hope that this series endows a multitude of users with the capabilities of both Raspberry Pi and Arduino. And whether it be on a maker level, an engineering level, or a professional level - I think an amalgamation of these five parts contains enough information to educate a user on the basics and complications of programming and microcontrollers in the modern computer age.