Arduino Sound Level Meter
In this tutorial I will be discussing the Gravity: Analog Sound Level Meter from DFRobot. The sound level meter linearly correlates sound pressure level in decibels to analog voltage (0.6V and 2.6V). This linear relation will give us the ability to read the approximate A-weighted sound pressure level using Arduino's AnalogRead() function. Below I will first break down the decibel and show the user how to transform from decibels to pressure in Pascals. When averaging sound pressure levels over time, we first need to convert to Pascals and average the sound pressure, then convert back to decibels for an average loudness. I will be calculating average sound pressure levels for several situations that approximate the sound levels encountered in daily life ranging from the quietness of a library to the dangerous screeches of a subway car.
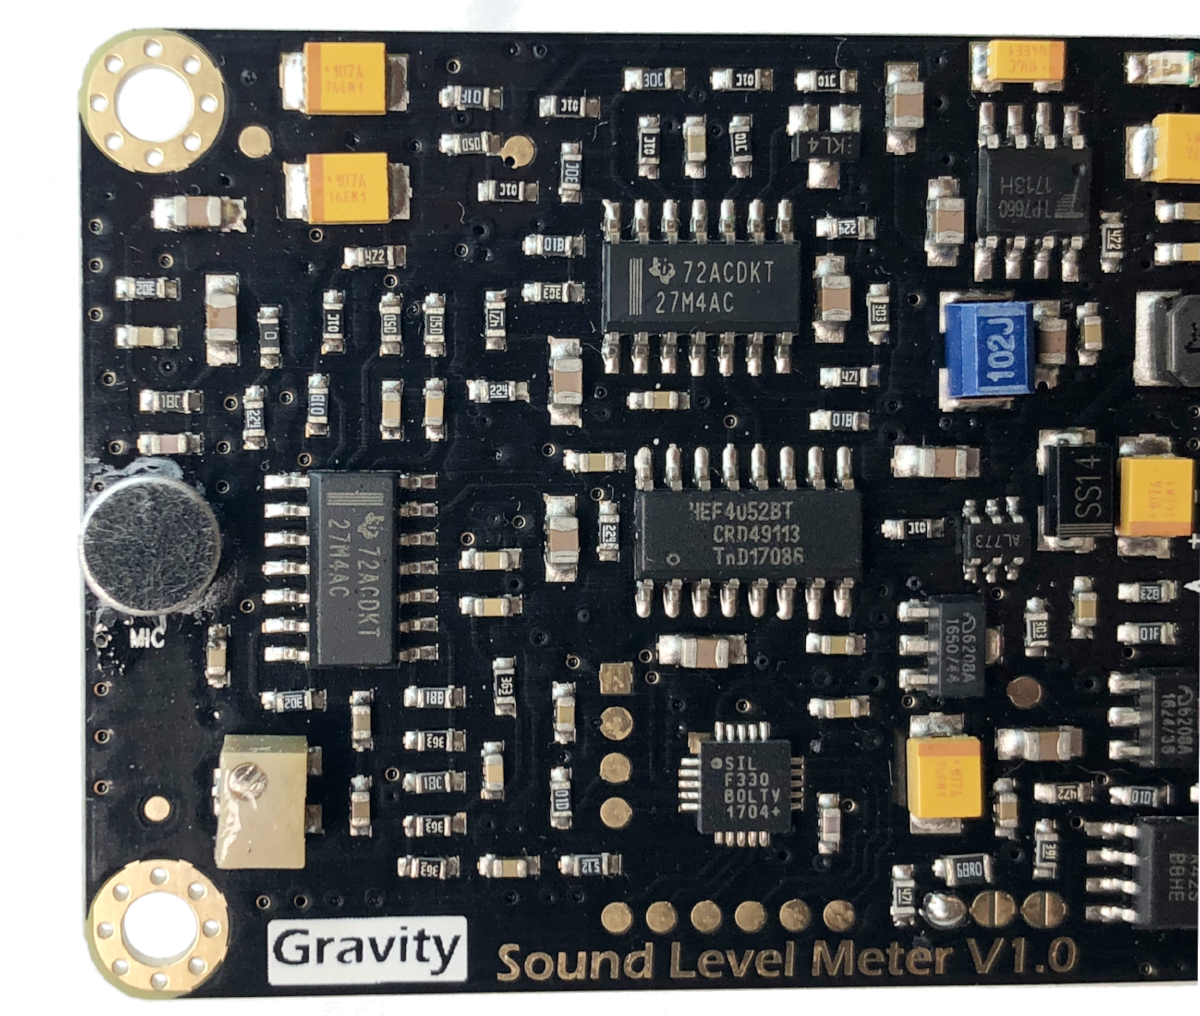
Gravity: Analog Sound Level Meter from DFRobot
Understanding Sound Pressure Levels and The Decibel
Sound pressure level is measured in a unit called the decibel. The decibel was first described as the smallest change in loudness by which the human ear can detect. Derived from Alexander Graham Bell, the deci-bel is one-tenth of one bel, a unit that measures the logarithmic difference between two sound pressure levels (source):
where p is the measured sound pressure, pref is a reference sound pressure, Lp stand for the sound pressure level, and B stands for Bel. In modern acoustics, the decibel is the preferred unit, so we can multiply by 10 and arrive at the following relation:
The above relation is also rewritten using logarithm laws to assume the following traditional form:
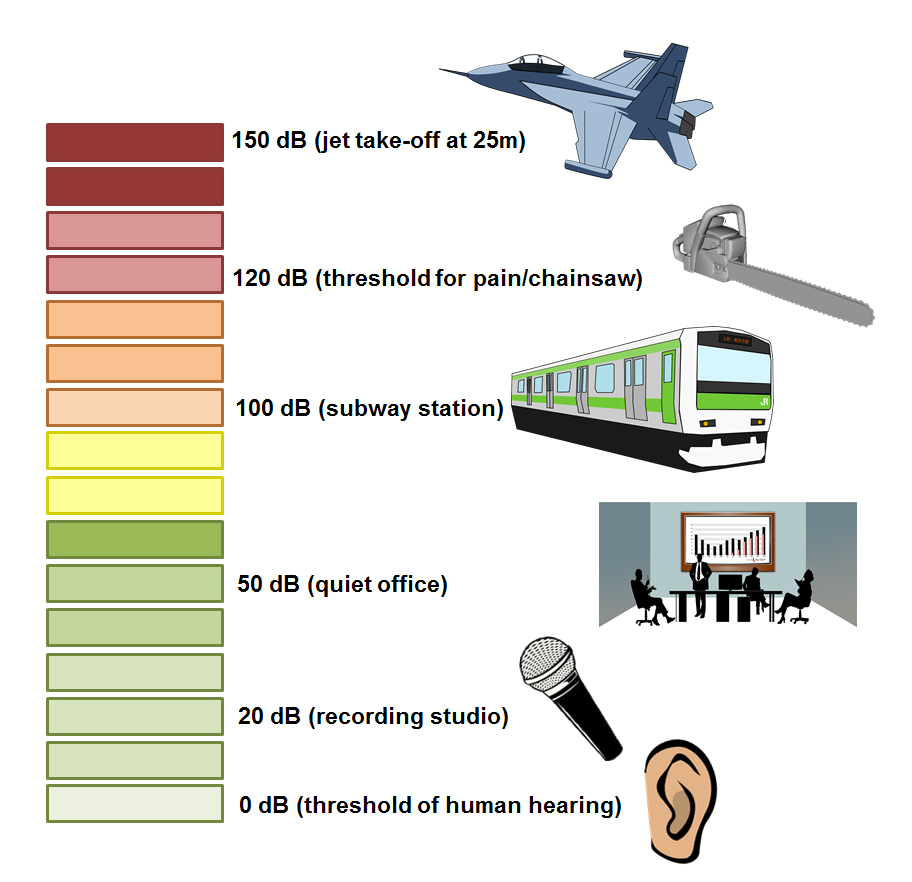
Most frequently the reference pressure, pref, is 20×10-6 Pa (20 µPa). This means that when we measure sound pressure, it must be in Pascals (or the reference must be converted). Below is a table of sound pressure levels in dB for common sound emitters encountered on a common day (source):
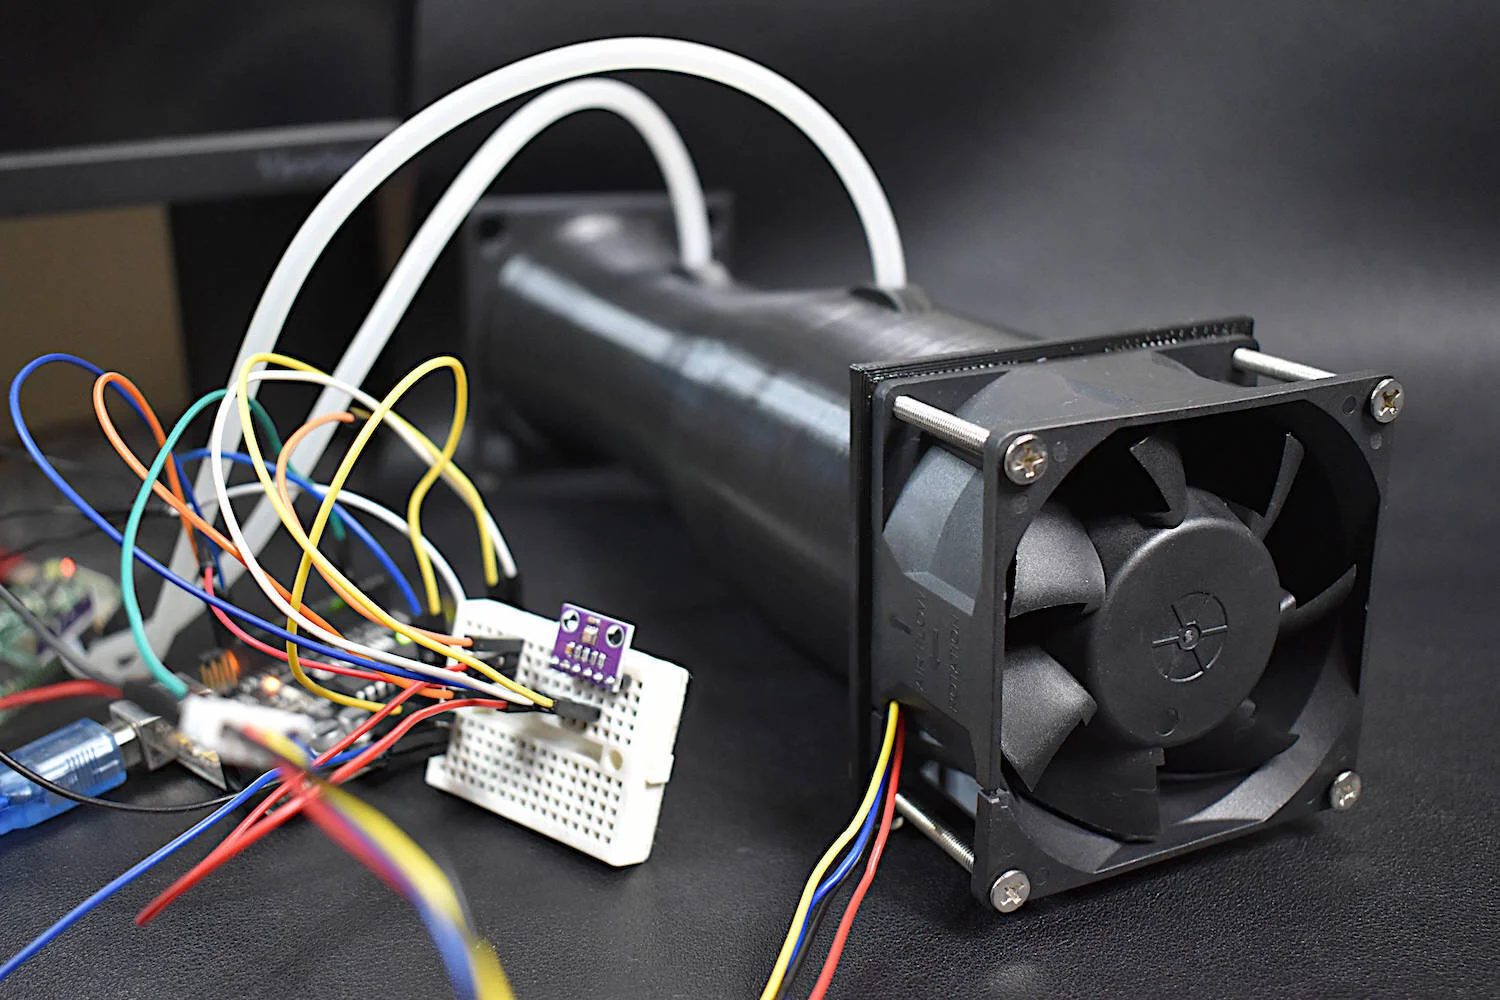
Building The Portable Arduino Sound Level Meter
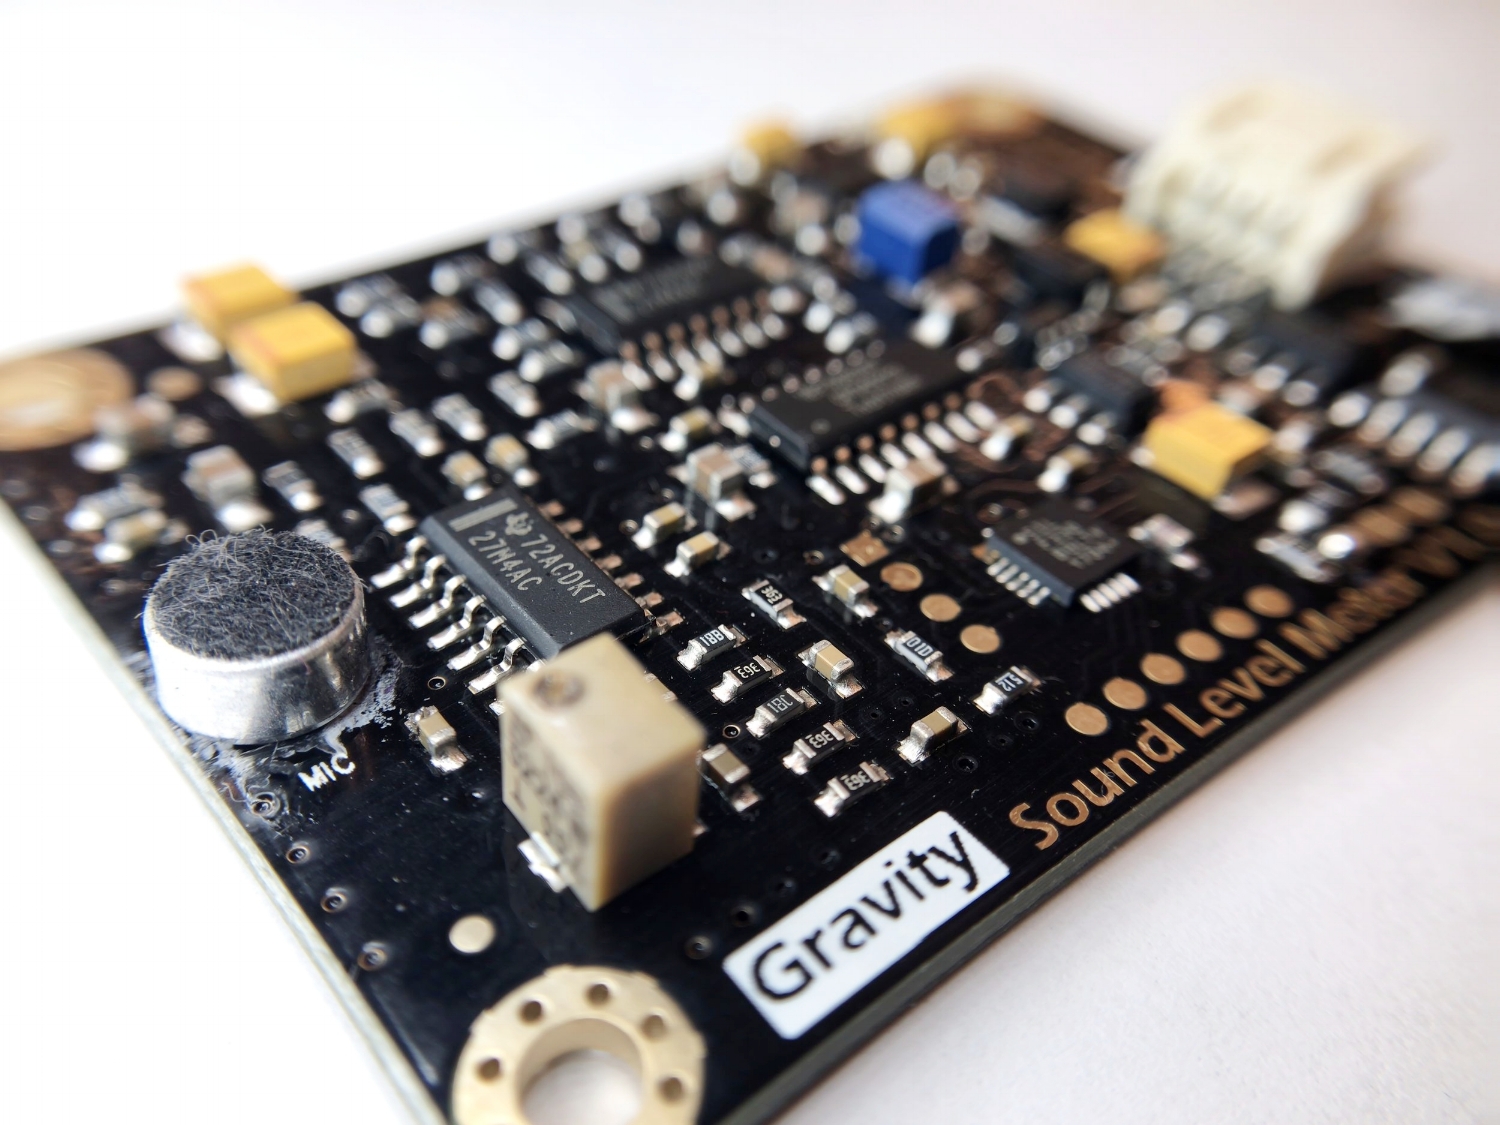
DFRobot's sound level meter takes care of the bulk calculations for sound pressure level measurement. It returns the A-weighted sound pressure level in decibels, which is read linearly through the analog port of any arduino board. The sound level meter board is truly plug-and-play - so I will assume the user has an Arduino Uno board to record the dBA values. In the code below, I will also be transmitting the values via Bluetooth, but if the user doesn't have a receiver, the code will work and print the sound pressure level readings to the serial port. I am using the Bluetooth communication so I can record the values and process them later (invert and average pressure levels). I have included a brief parts list below, should the user need any of the pieces mentioned above:
PARTS LIST:
The DFRobot sound level meter (specs. here) as I said before is ready to go nearly out-of-box. This means that you can head to their wiki page (here) and follow their wiring and code outlines to get the device up and running with your Arduino. Their code works perfectly, except when using voltages lower than the traditional 5.0V. Therefore, if you're planning to use the sound level meter (SLM) plugged into stable 5.0 Volts, then you can skip the rest of this Arduino section; but if you're planning to use a 3.7V supply or something lower than 5.0V, then you may want to continue on. Because I found an issue with the analog reference voltage when converting from analog signal to decibels.

Reading analog values when using a battery can produce unstable results. This is why 'provideyourown.com' wrote a script for Arduino (ATmega328 and 168 only) that reads the supply voltage for reference when reading analog values (link to their article here). The Arduino traditionally uses 5.0V as its reference when calling analogRead(), however, if the supply voltage is less than 5.0V then we need to read the new voltage to get a reference for the 10-bit analog values. In my case, I use a 3.7V LiPo battery, so the values range from 3-4V roughly. This is why we need the voltage reading function - because the values will range always from 0-1023 but the reference changes with battery voltage. So the function provided by 'provideyourown.com' handles this fluctuation.
The 'dbValue' variable below shows the usage of this function:
The A above is the 10-bit analog read value, the 1024 is to get the ratio of full 10-bit width, the V is the supply voltage (which will change with battery voltage), and the 50.0 is the sensitivity constant for the sensor. The full code, including this implementation, is shown below.
1 2 3 4 5 6 7 8 9 10 11 12 13 14 15 16 17 18 19 20 21 22 23 24 25 26 27 28 29 30 31 32 33 34 35 36 37 38 39 40 41 42 43 44 45 46 47 48 49 50 51 52 53 54 55 56 57 58 59 | #include <SoftwareSerial.h> int inputPin = A0; SoftwareSerial ble(6,7); //bluetooth comm void setup() { // initialize serial communication with computer: Serial.begin(115200); ble.begin(9600); } void loop() { //read ref voltage float ref_volt = float(readVcc())/1000.0; //preallocate float dbValue; char db_str[4],ble_dat[12]; strcpy(ble_dat,"s"); //tell the iPhone app to 'start' // read and convert analog data to dB dbValue = (analogRead(inputPin)/1024.0)*ref_volt*50.0; dtostrf(dbValue,1,2,db_str); Serial.println(db_str); strcat(ble_dat,db_str); ble.write(ble_dat); delay(80); ble.write("e"); delay(125); } // read voltage to ensure ADC converts properly long readVcc() { // Read 1.1V reference against AVcc // set the reference to Vcc and the measurement to the internal 1.1V reference #if defined(__AVR_ATmega32U4__) || defined(__AVR_ATmega1280__) || defined(__AVR_ATmega2560__) ADMUX = _BV(REFS0) | _BV(MUX4) | _BV(MUX3) | _BV(MUX2) | _BV(MUX1); #elif defined (__AVR_ATtiny24__) || defined(__AVR_ATtiny44__) || defined(__AVR_ATtiny84__) ADMUX = _BV(MUX5) | _BV(MUX0); #elif defined (__AVR_ATtiny25__) || defined(__AVR_ATtiny45__) || defined(__AVR_ATtiny85__) ADMUX = _BV(MUX3) | _BV(MUX2); #else ADMUX = _BV(REFS0) | _BV(MUX3) | _BV(MUX2) | _BV(MUX1); #endif delay(2); // Wait for Vref to settle ADCSRA |= _BV(ADSC); // Start conversion while (bit_is_set(ADCSRA,ADSC)); // measuring uint8_t low = ADCL; // must read ADCL first - it then locks ADCH uint8_t high = ADCH; // unlocks both long result = (high<<8) | low; result = 1125300L / result; // Calculate Vcc (in mV); 1125300 = 1.1*1023*1000 return result; // Vcc in millivolts } |
Results
I took sound pressure level measurements in several locations to mimic the chart above.
Measured Levels:
Library - 34 dB
Quiet Office - 50 dB
Busy Street - 72 dB
Passing Subway - 87 dB (100 dB peak)
Roof Cooling System/Loud Pumps - 92 dB


Often, sound pressure levels are averaged over a day, several hours, hour, or even less depending on the peak sound pressure level. The Occupational Safety and Health Administration (OSHA) sets guidelines regarding exposure to certain sound pressure levels. For example, in the case of our subway peak measurements at 100 dB, OSHA limits the exposure to such sound levels to 2 hours per day (source). This means that subway car drivers need to wear hearing protection because they experience that peak sound level for much of their workday.
Conclusion
In everyday life humans encounter a variety of sounds that range from soothing to bothersome to biologically harmful. Above, I explained how sound levels are represented using the decibel and several examples of common levels encountered in daily life. Then, I used DFRobot's Sound Level Meter breakout board to instruct the user on how to build their own portable device. Finally, I utilized the meter in several situations of varying loudness to demonstrate the meter's ability to replicate common sound pressure levels.
The goal in this tutorial was to guide the user through building their own sound level meter, comprehending the readings, and demonstrating the functionality and accuracy compared to commonly recorded levels around modern life. The steps outlined above could be used to educate workers on sound emissions surrounding their workplace and delineating whether their individual situation warrants ear protection to prevent permanent damage due to overexposure.
See More in Arduino: