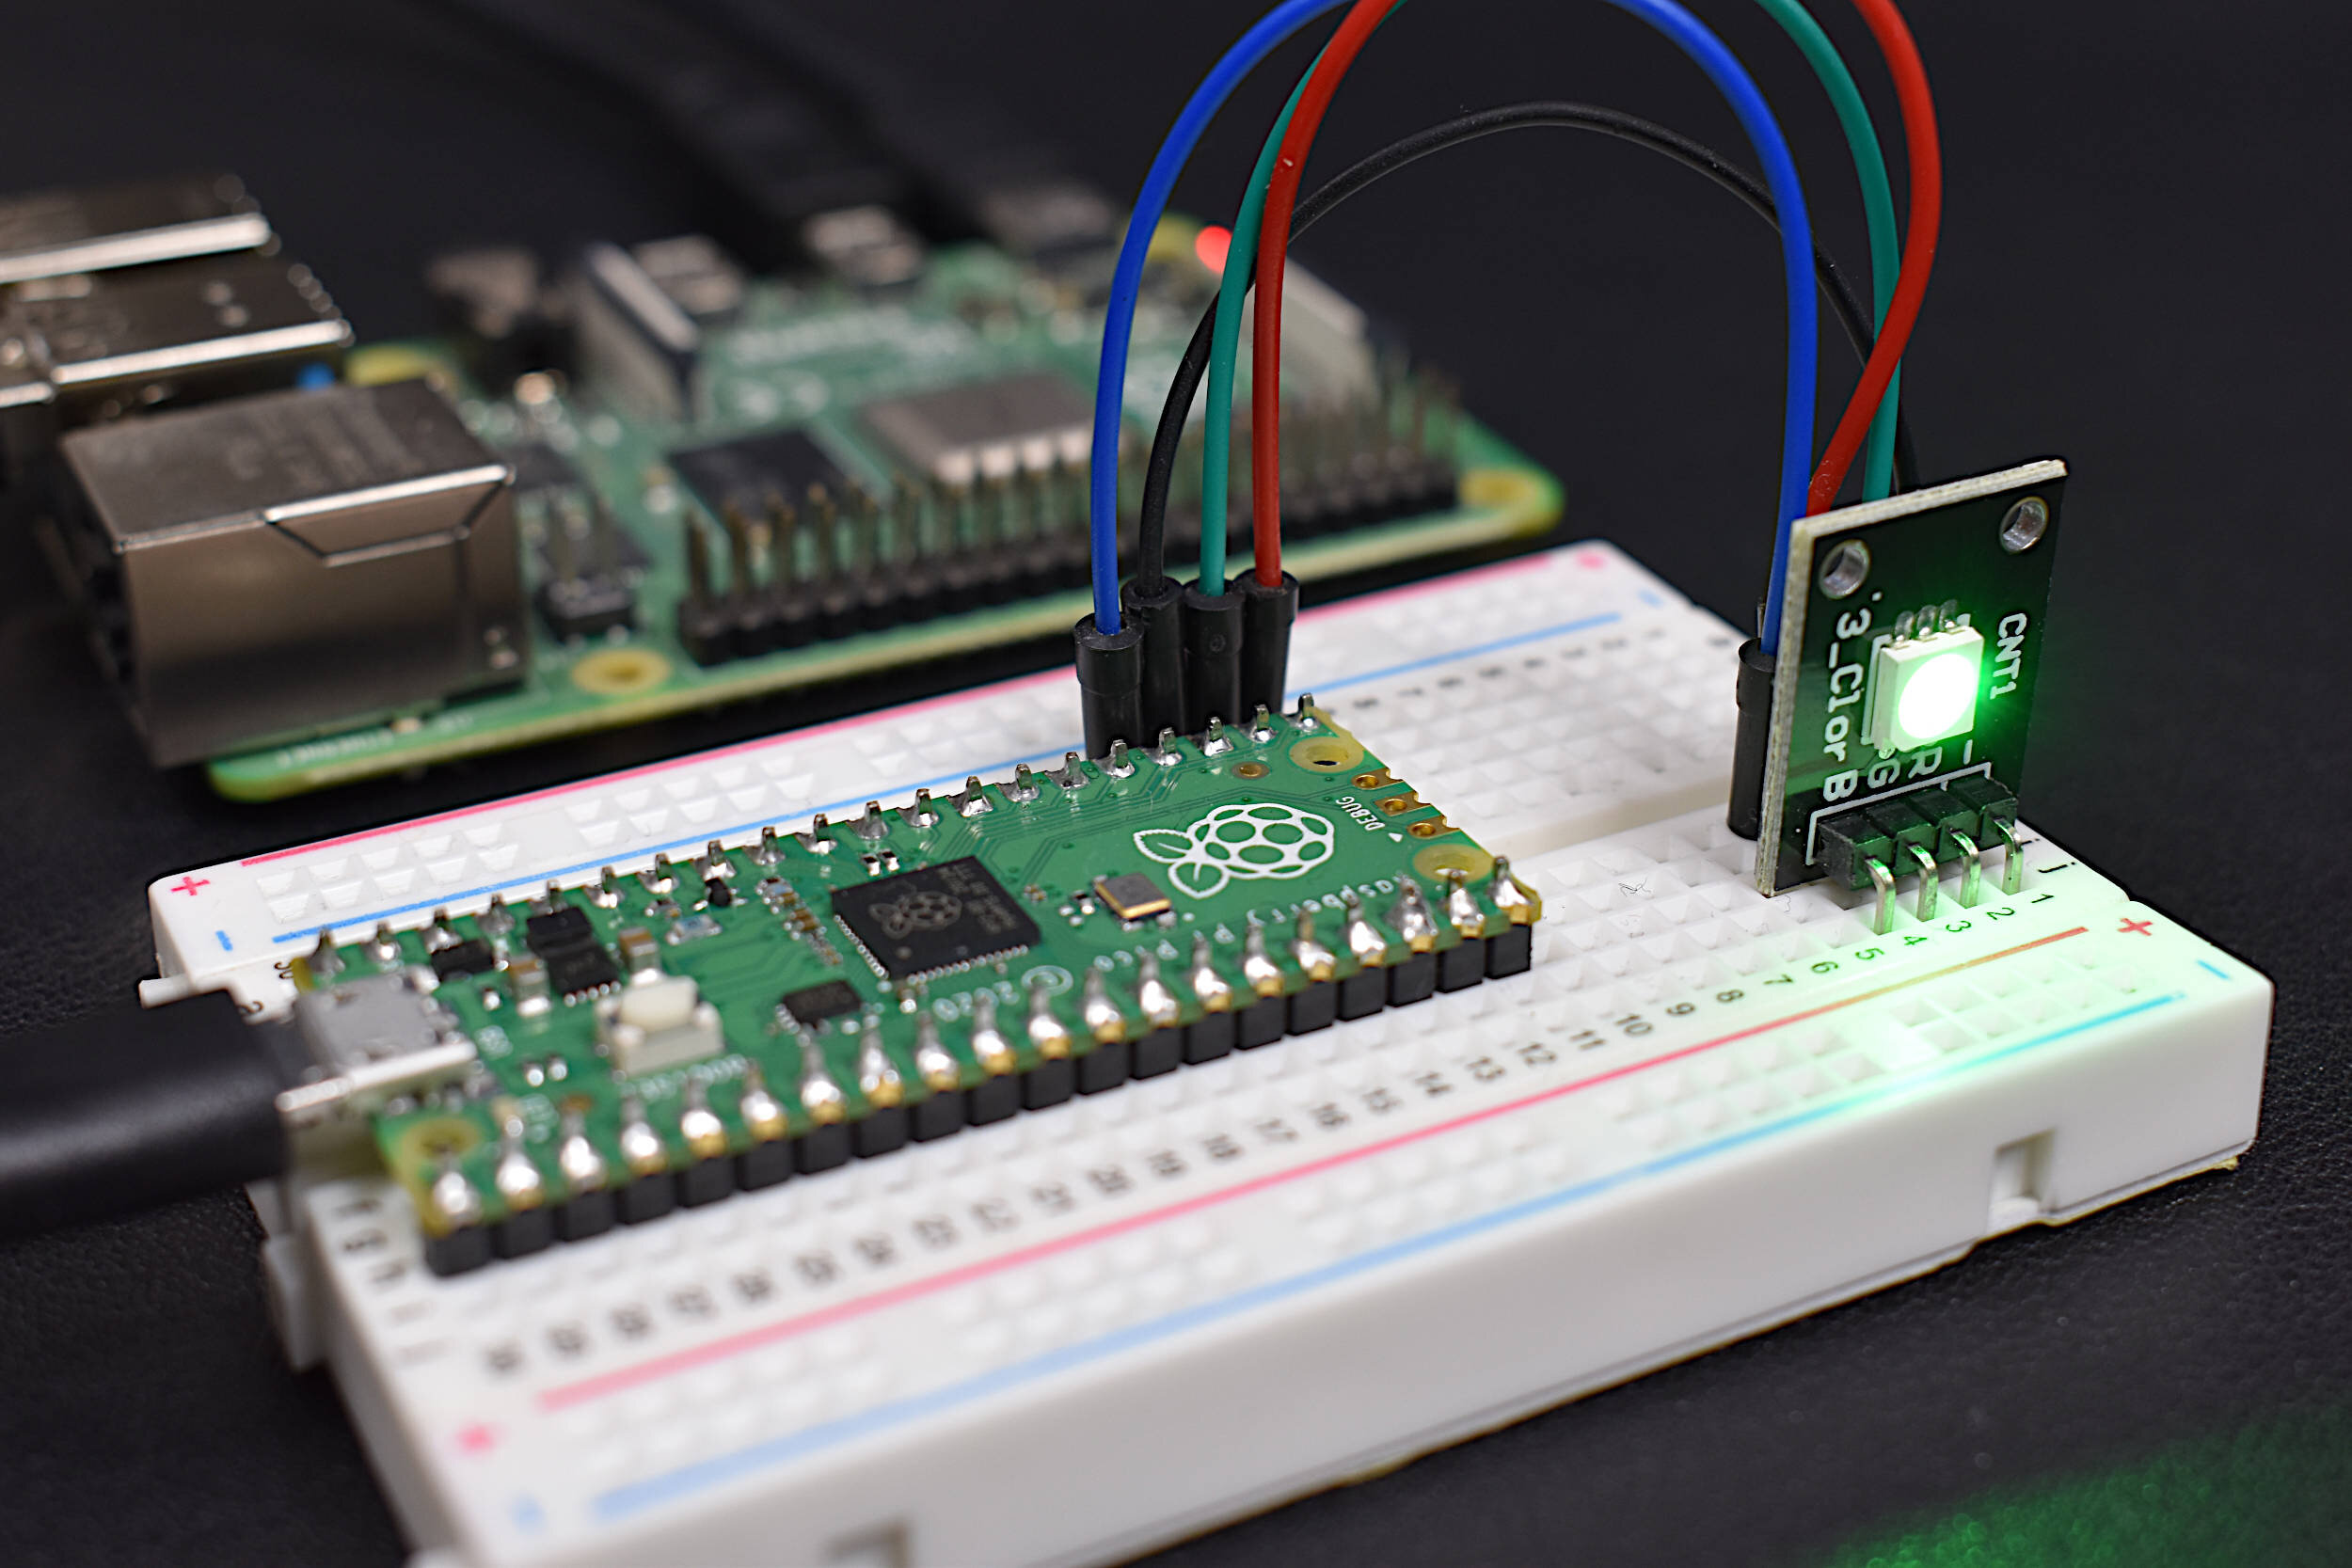
The Raspberry Pi Pico was recently released by the Raspberry Pi Foundation as a competitive microcontroller in the open-source electronics sphere. The Pico shares many of the capabilities of common Arduino boards including: analog-to-digital conversion (12-bit ADC), UART, SPI, I2C, PWM, among others. The board is just 21mm x 51mm in size, making it ideal for applications that require low-profile designs. One of the innovations of the Pico is the dual-core processor, which permits multiprocessing at clock rates up to 133 MHz. One particular draw of the Pico is its compatibility with MicroPython, which is chosen as the programming tool for this project. The focus on MicroPython, as opposed to C/C++, minimizes the confusion and time required to get started with the Pico. A Raspberry Pi 4 computer is ideal for interfacing with the Pico, which can be used to prepare, debug, and program the Pico. From start to finish - this tutorial helps users run their first custom MicroPython script on the Pico in just a few minutes. An RGB LED will be used to demonstrate general purpose input/output of the Pico microcontroller.
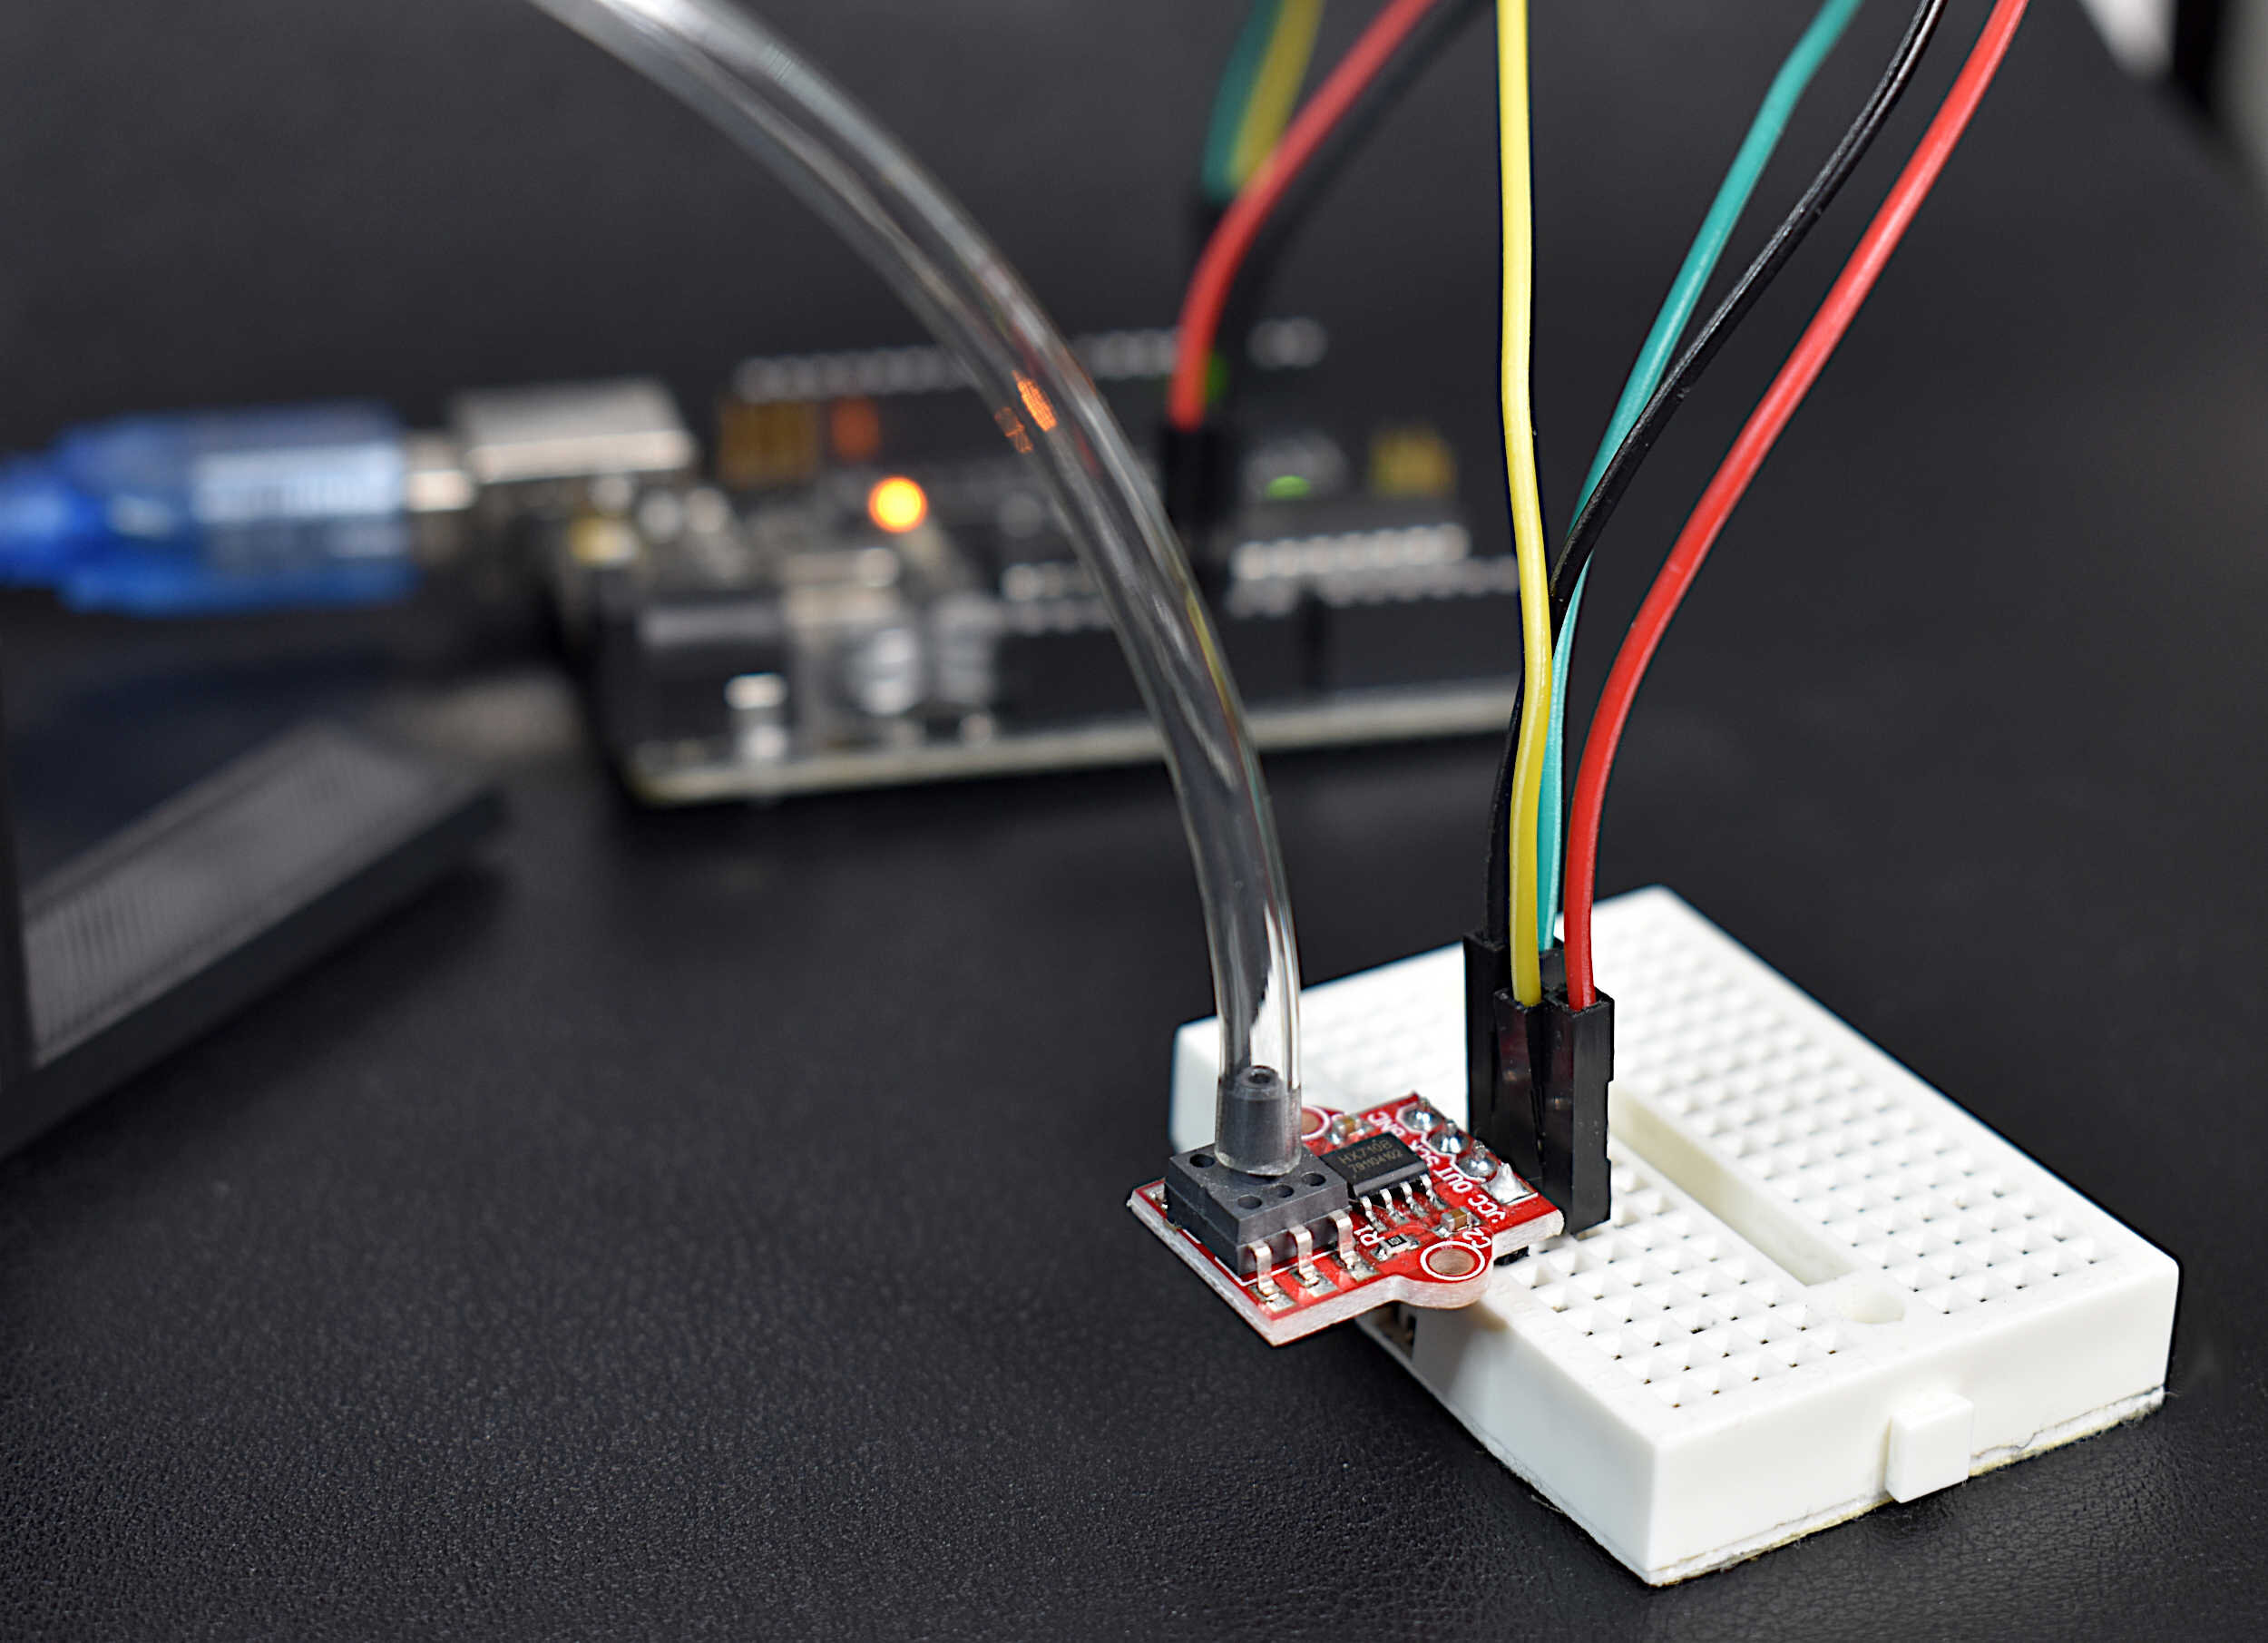
Read MorePressure is defined as an evenly distributed force acting over a surface with a given area. The accurate measurement of pressure is essential for applications ranging from material testing to weighing scales, aircraft altitude prediction, and evaluating biological functions in humans relating to respiration and blood flow In this tutorial, a digital pressure transducer and analog pressure manometer will be used to measure gauge pressure - where the analog manometer is used as the calibration tool for the digital pressure sensor. Arduino will be used to read the digital pressure transducer, an MPS20N0040D, and a 3D printed manometer will be used to measure analog pressure manually.
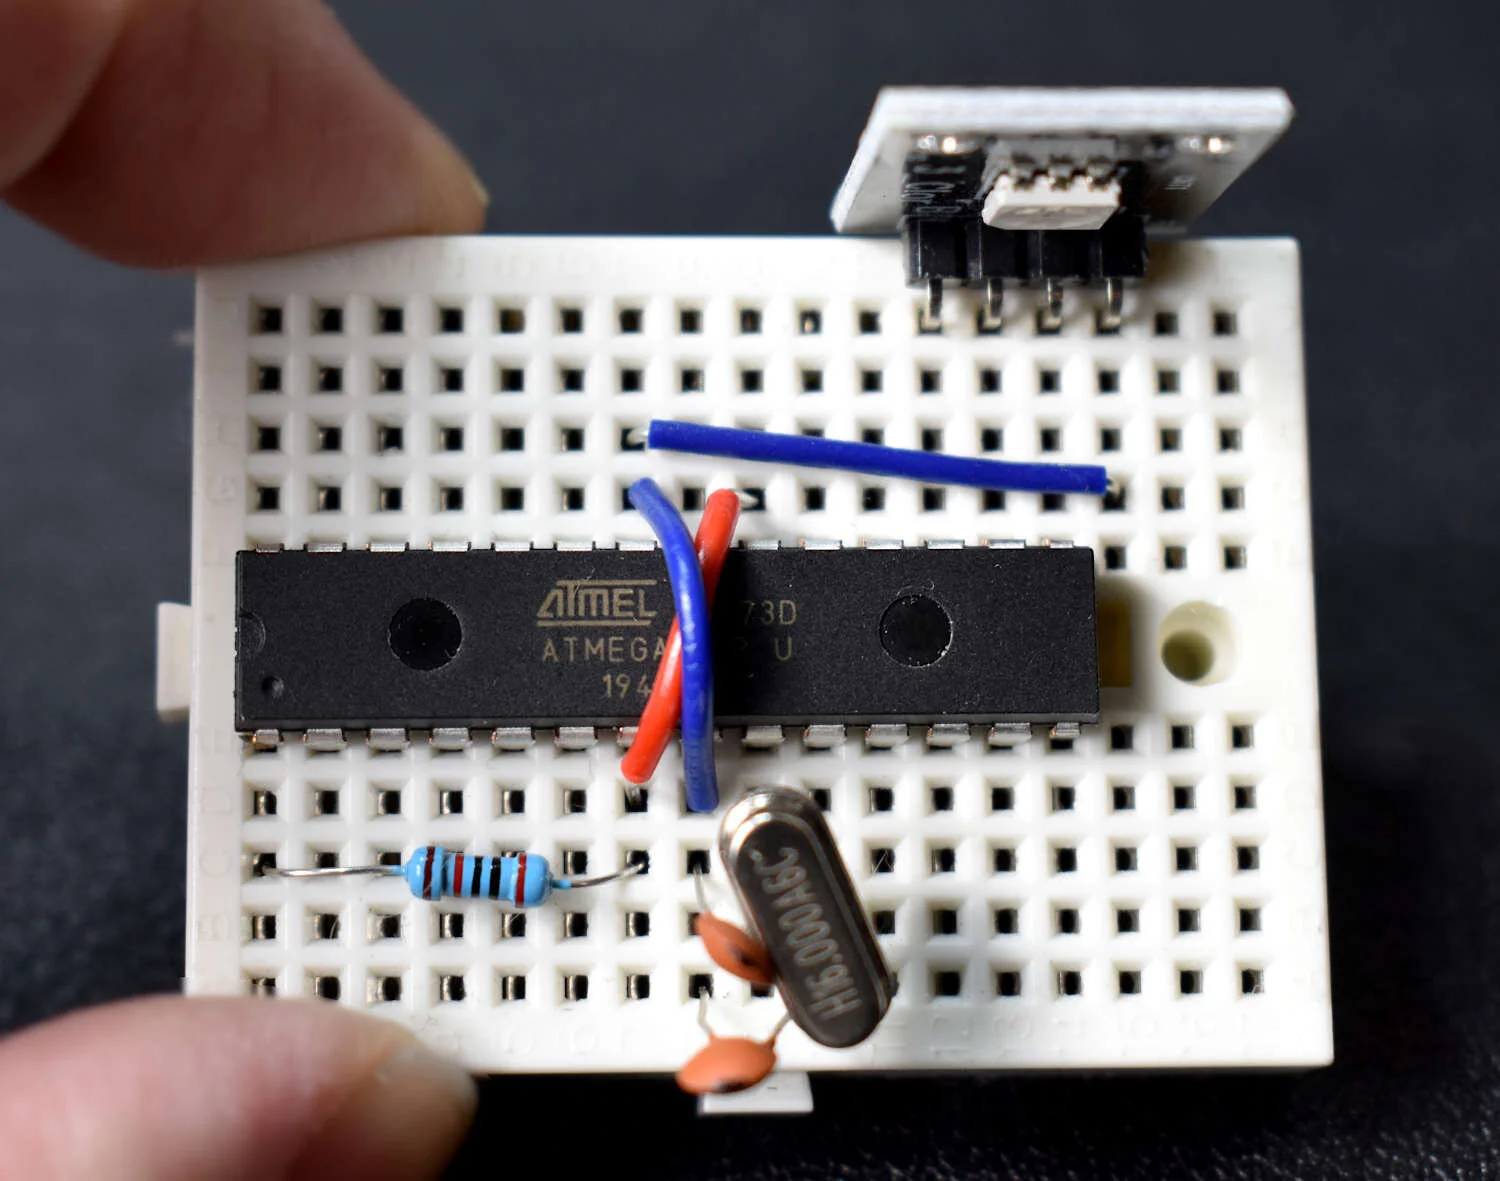
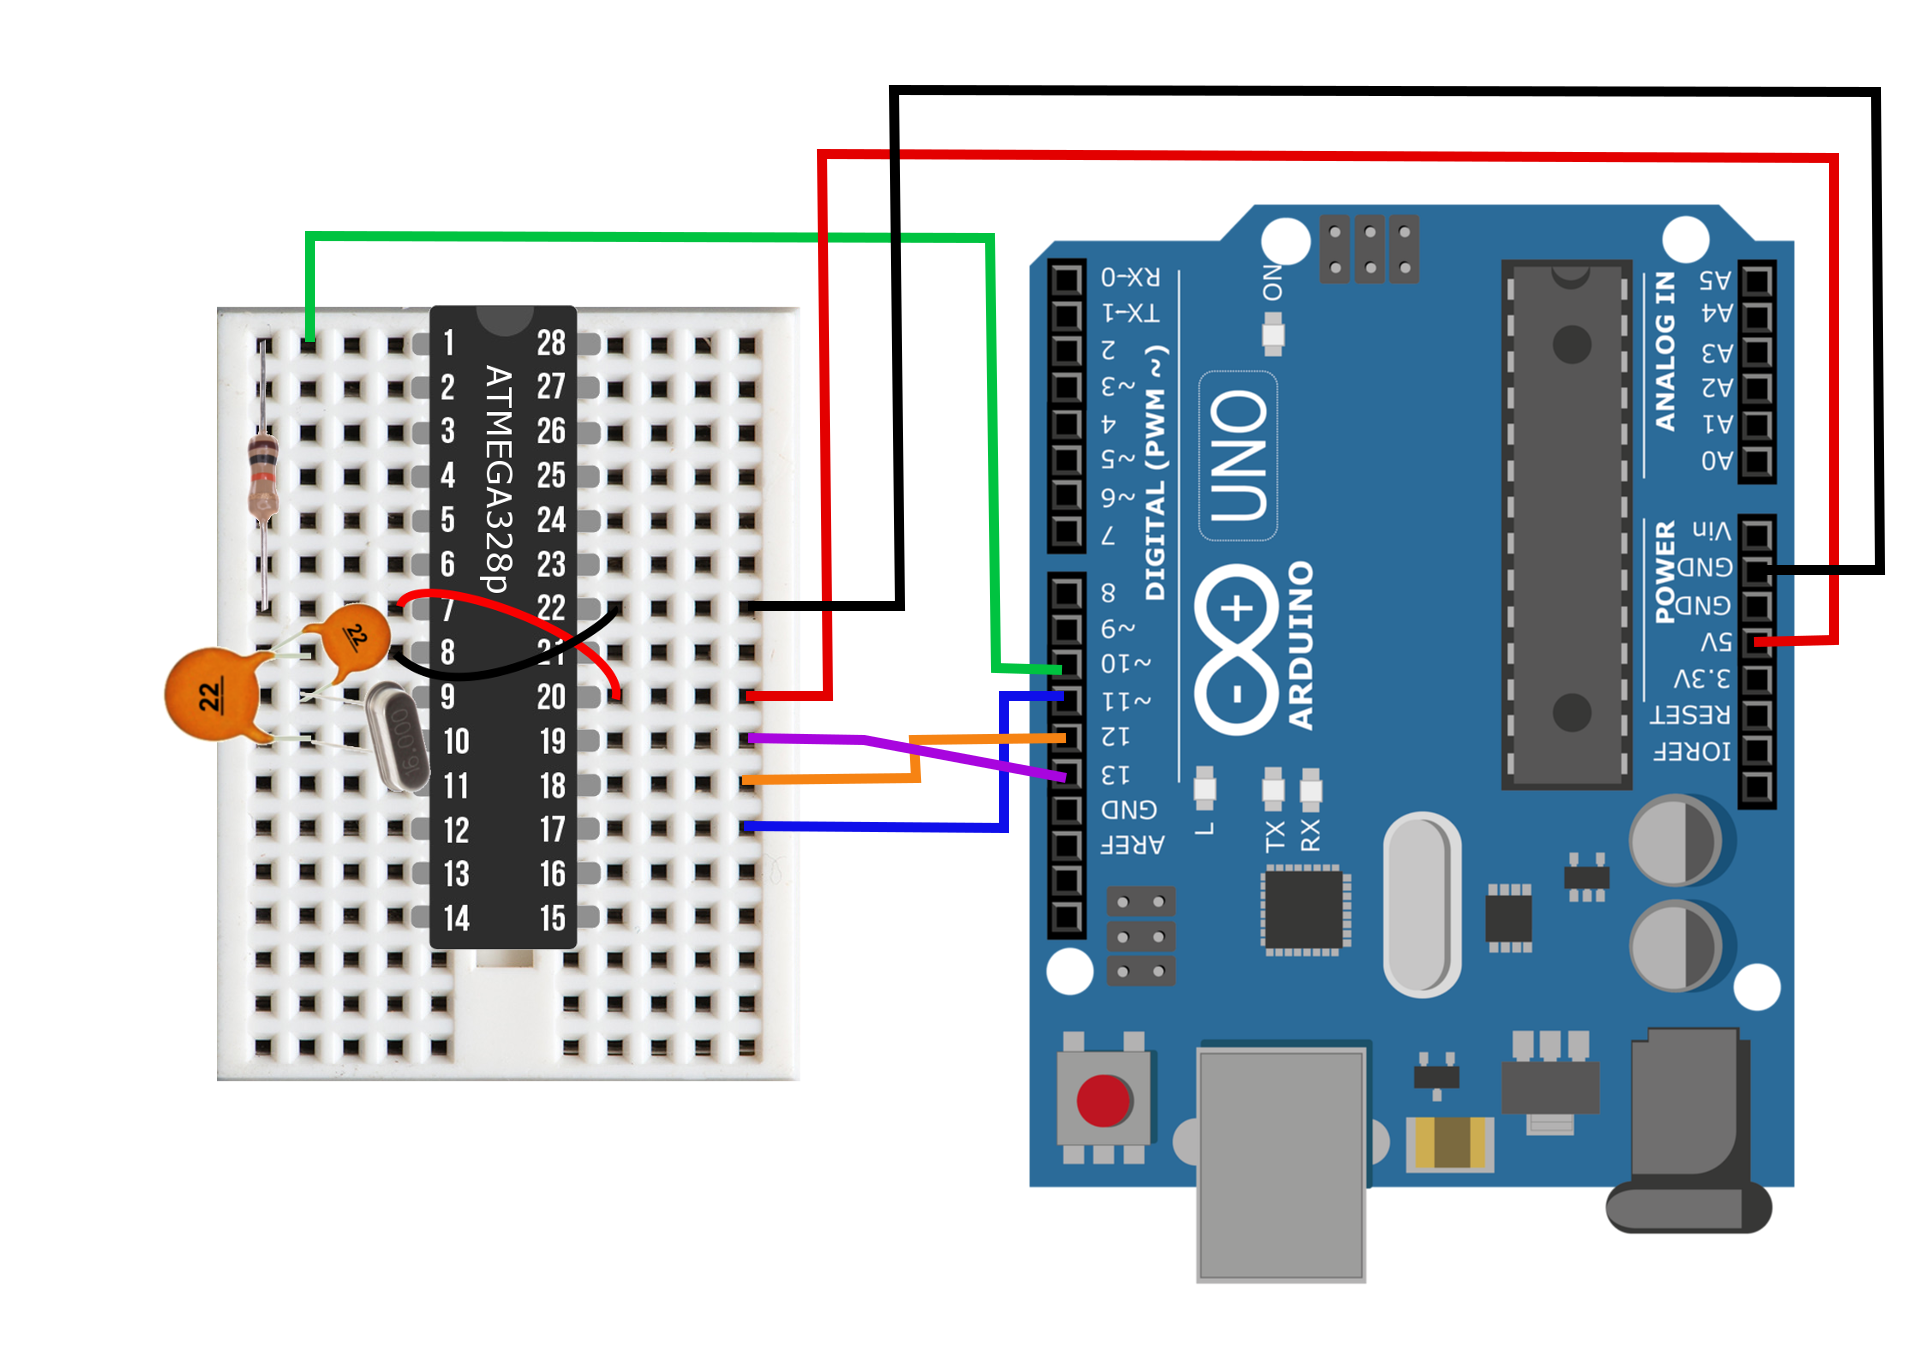
Read MoreA DIY Arduino board is presented here, with most of the capabilities of the classic Arduino Uno board, but with a slimmer profile and more flexibility in hardware. The advantage to using the DIY Arduino board is its ability to change the input voltage (2.7V - 5.5V), the crystal oscillator (0-16MHz), and the use of LEDs and regulators when needed. The DIY board is capable of very lower power modes, without the requirement of draining components such as LEDs or regulators. The ATmega328P chip is at the center of every Uno board (in recent years), and is also at the center of the DIY board, which allows the DIY Arduino to behave almost identically to the Uno board.
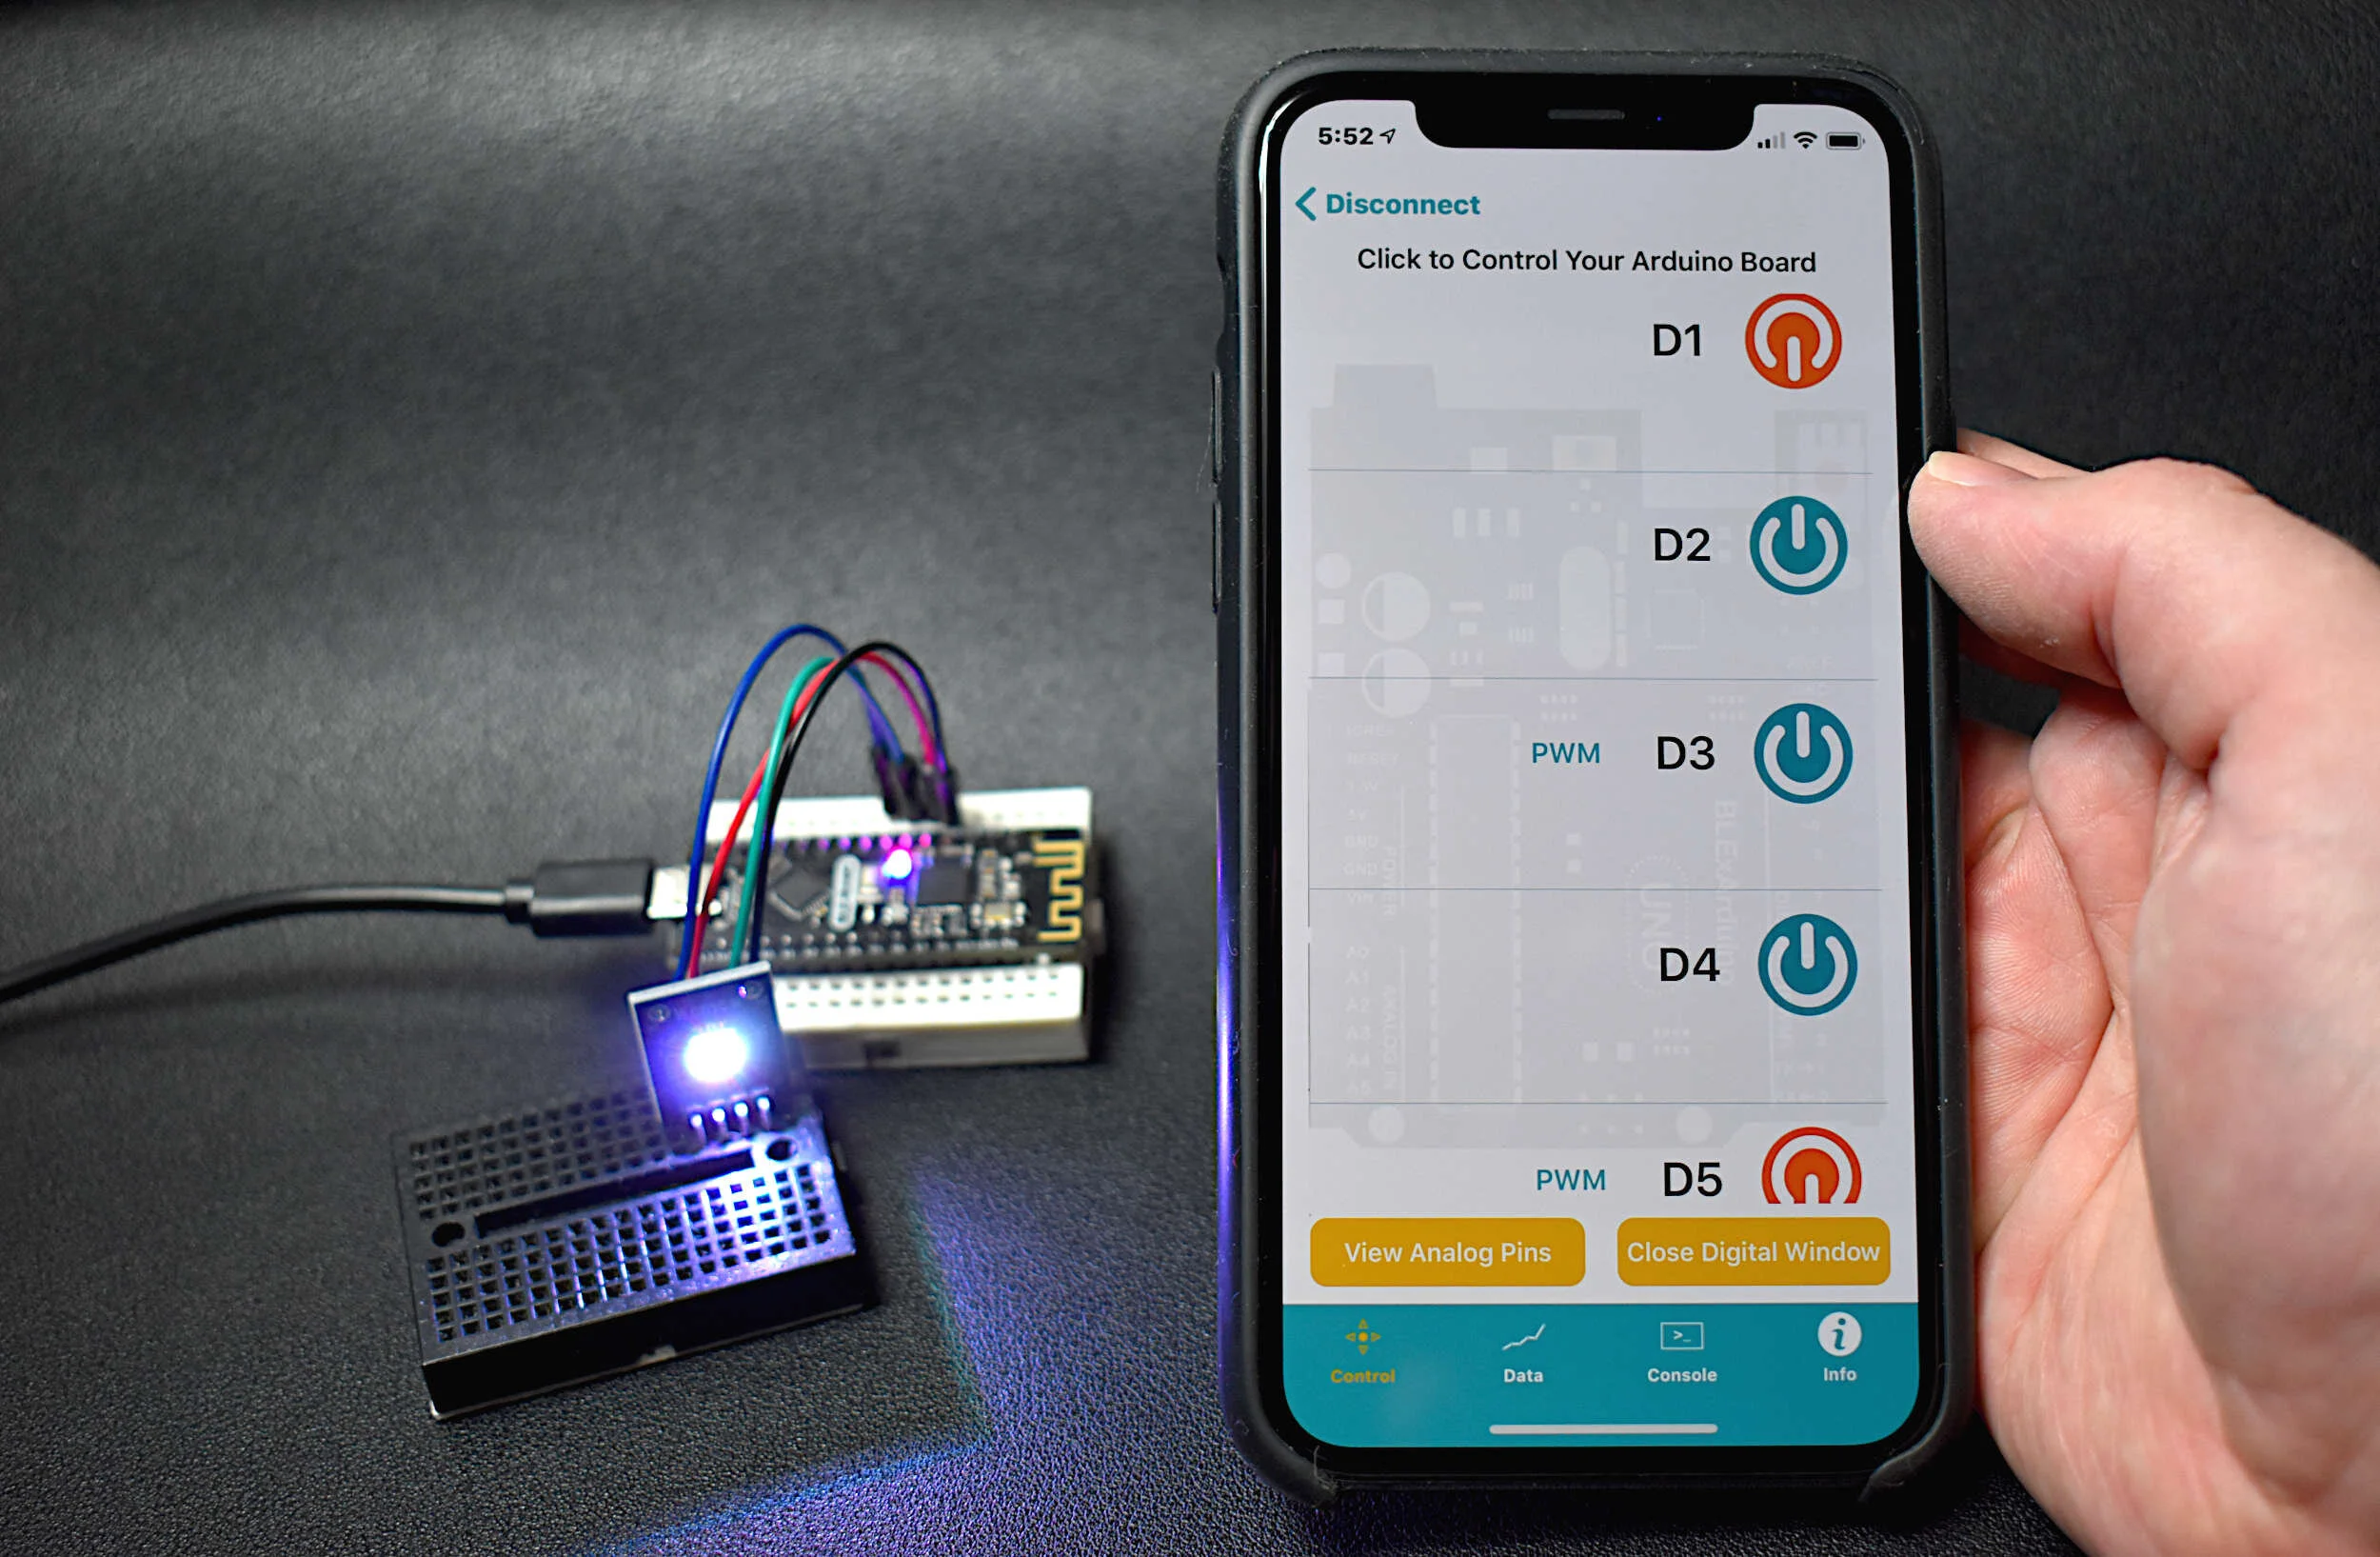
Read MoreThe BLE Nano is introduced as a hybrid between an Arduino Nano and a CC2540 Bluetooth Low Energy (BLE) module. The Arduino Nano has an ATmega328P as its main microprocessor, which communicates over the serial port to send and receive Bluetooth packets from the CC2540 BLE chip. This creates a Bluetooth-enabled Arduino device - encased in a Nano-sized circuit board! Using the BLExAR iOS app, the BLE-Nano will be controlled using an iPhone. BLExAR allows users to control the pins on the Nano, which will be demonstrated by switching an RGB LED on and off.
Read MoreIn this tutorial, an ultrasonic sensor (HC-SR04) will be used in place of a radio emitter; and a plan position indicator will be constructed in Python by recording the angular movements of a servo motor. An Arduino board will both record the ranging data from the ultrasonic sensor while also controlling and outputting the angular position of the servo motor. This will permit the creation of a PPI for visualizing the position of various objects surrounding the radar system.
Read MoreIn this tutorial, the ATtiny85 is reintroduced, this time as a Bluetooth-enabled device. First, some of the basics of burning the bootloader to the ATtiny85 and using the Arduino board as an in-system programmer (ISP) are explored. Then, a CC2541 Bluetooth Low Energy (BLE) module is used to communicate with an iOS device using the BLExAR app. Lastly, temperature and humidity data is read by the ATtiny85 and transmitted via Bluetooth to the smartphone.
Read MoreLoRa modules, such as the SX1276 used in this tutorial, are widely available and relatively inexpensive, all while being fully compatible with Arduino. LoRa modules are also modular in software and hardware: transmission power is configurable, the modules can be outfitted with antennae, and transmission speed and packet information size are both modifiable. In this tutorial, an Arduino board and SX1276 modules will be used to create a network of long range (LoRa) nodes designed to communicate and transport information. The use of antennae will also help broaden the range of the nodes, and tests in New York City will help quantify the efficiency and cone of functionality for such a node in a complex environment.
Read MoreOptical fingerprint sensors take low-resolution snapshots of the tip of a finger and create arrays of identifiers that are then used to uniquely identify a given fingerprint. The AS608 is capable of storing up to 128 individual fingerprints. This tutorial will introduce the AS608 Arduino-compatible fingerprint sensor and how to validate and reject fingerprints based on the enrolled fingerprint information that will be given to the sensor. The fingerprint algorithm is handled by the AS608 and Arduino, so this tutorial will focus on implementation and putting the pieces together to make a working fingerprint sensor with Arduino.
Read MoreA demultiplexer will be used to control 8 LEDs using just 3 digital pins on the Arduino board. This method of demultiplexing frees up pins on the Arduino, but also makes control of multiple LEDs easier by consolidating the power given to each LED. This will allow us to use LEDs without resistors. In general, a demultiplexer uses N boolean outputs to control 2N switches. In our case, the CD4051 multiplexer will be used as a demultiplexer using 3 digital pins and boolean logic to control 8 individual LEDs. Several skills will also be developed, specifically with regard to programming in the Arduino programming language. Pulse-width modulation (or brightening and dimming) of LEDs will be explored, as well as randomization of LED blinks, along with the general selection process for boolean switching with the demultiplexer.
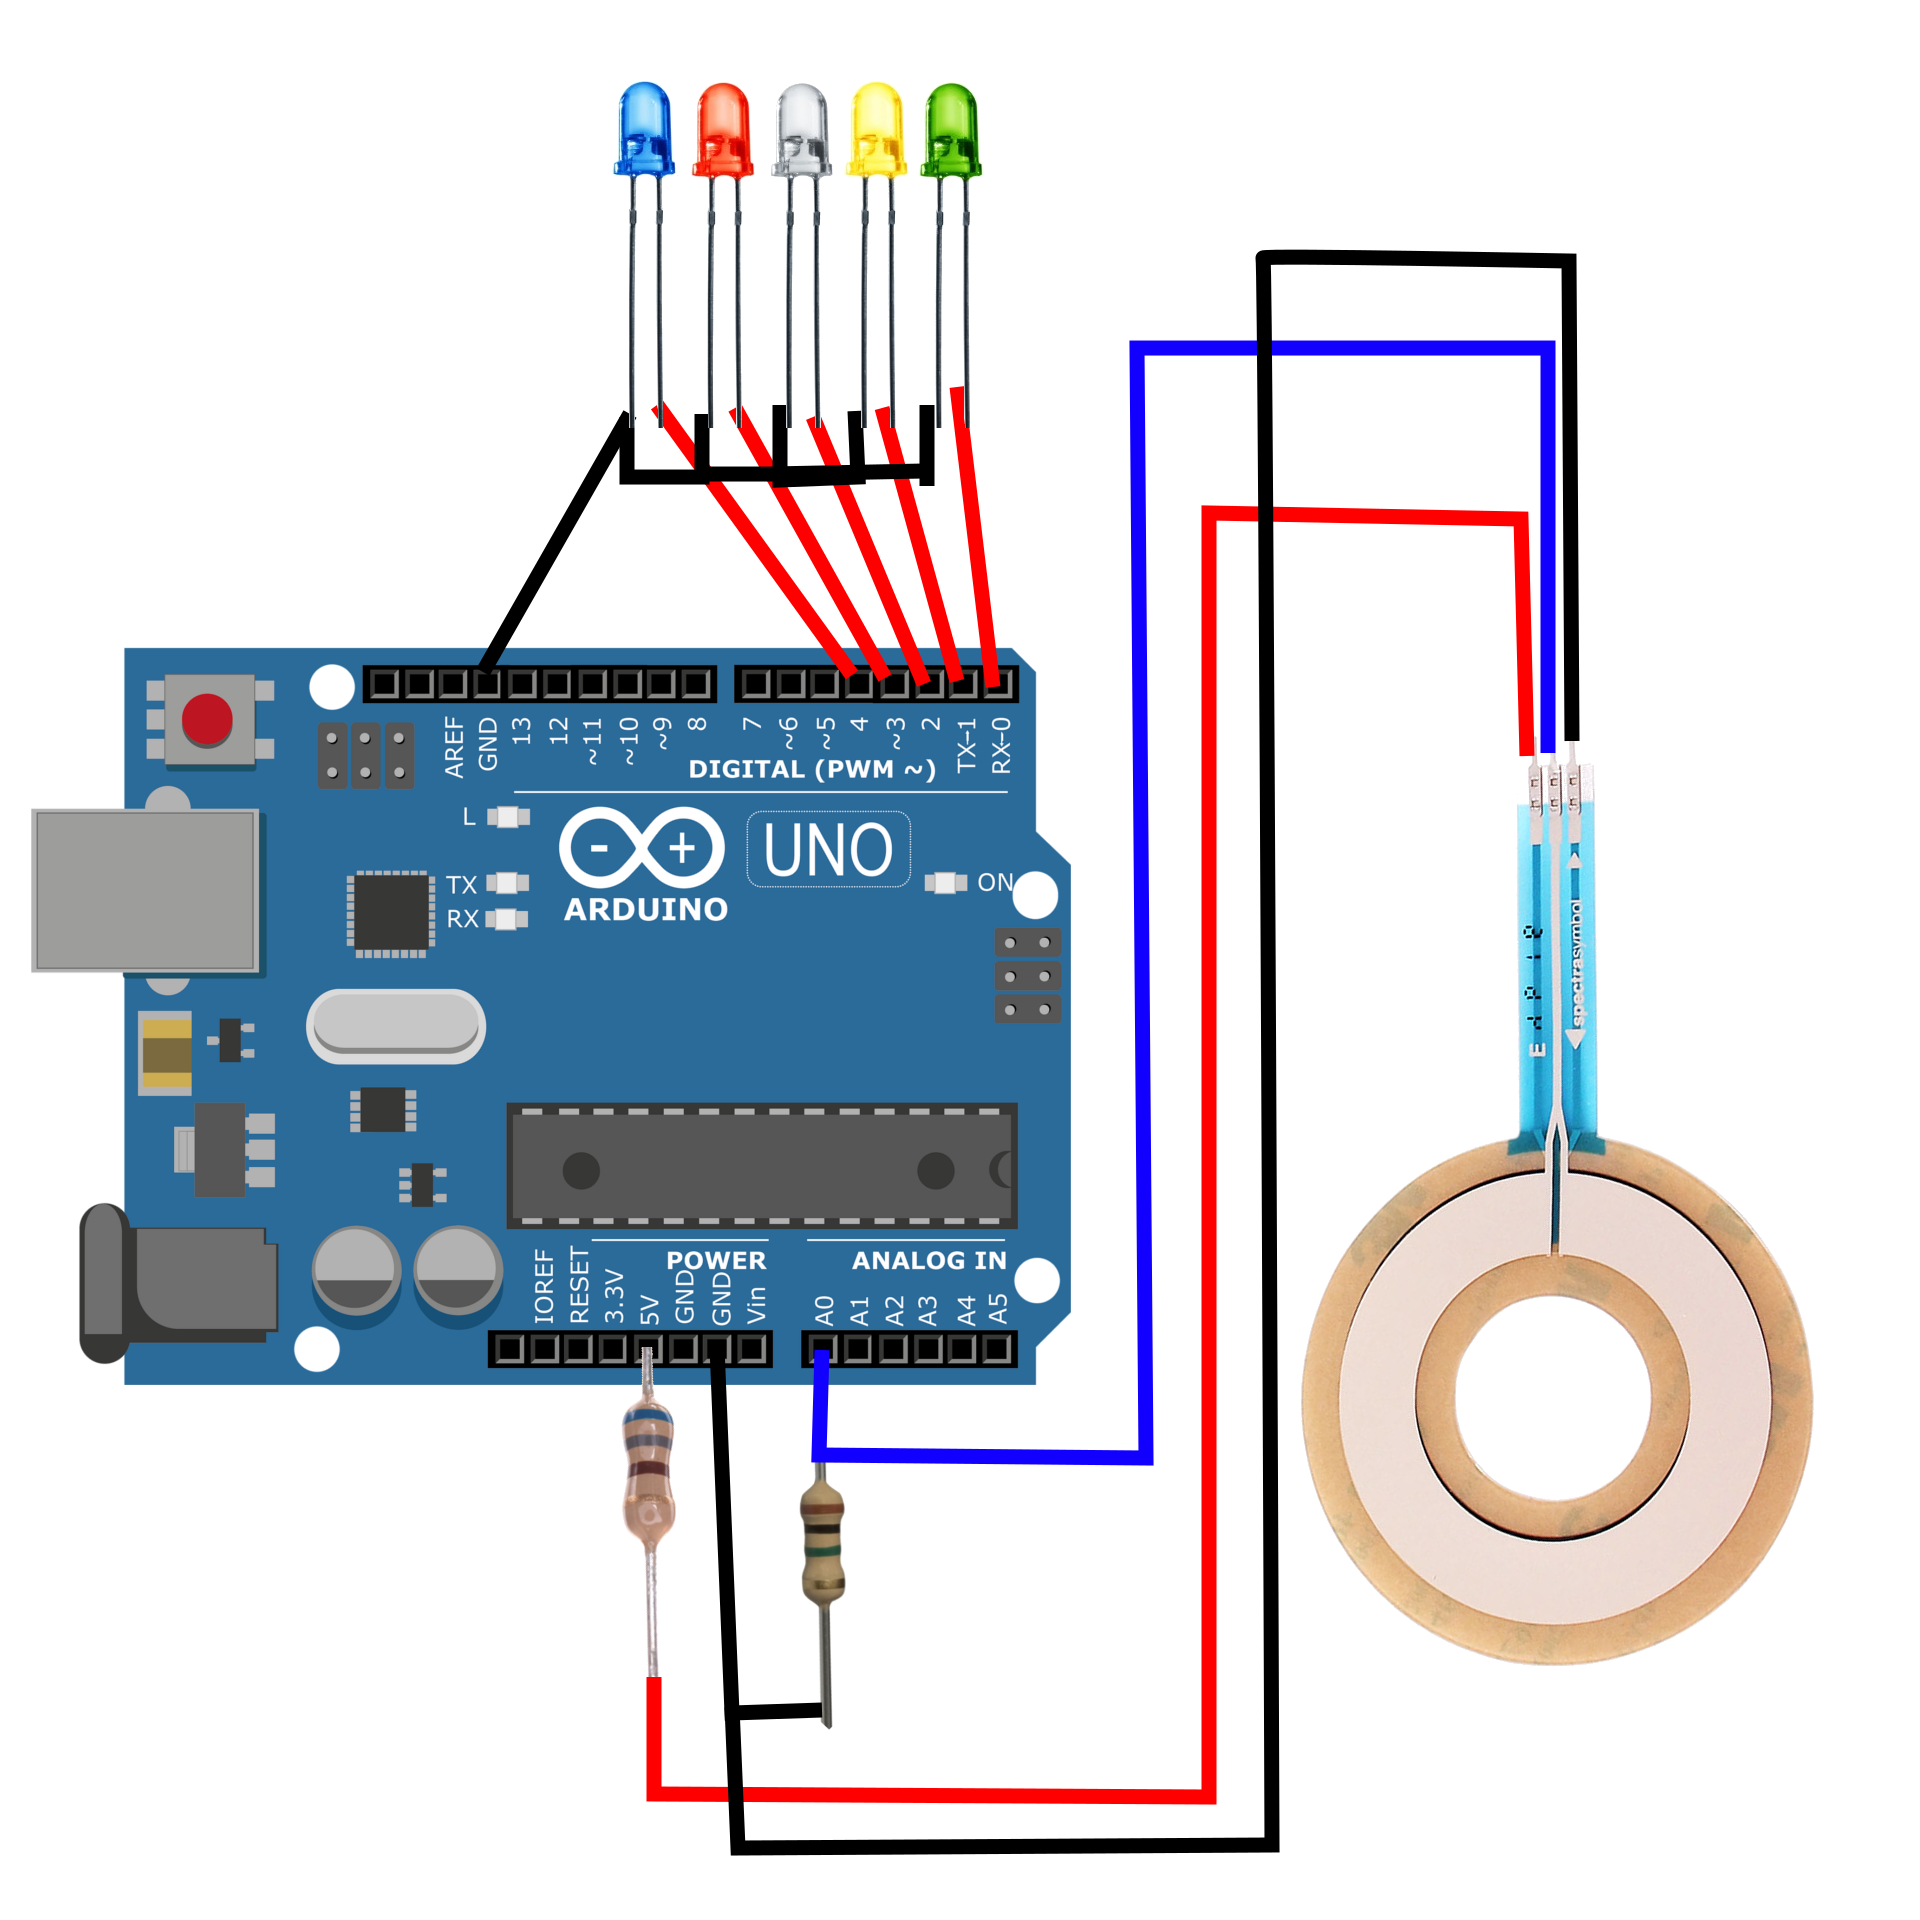
Read MoreHow to use a soft, circular-membrane potentiometer with an Arduino board. Potentiometers function by altering the voltage of a system by mechanically changing the resistance associated with a voltage divider. In a traditional potentiometer (think of turning a volume knob), we are physically changing the voltage of a system. In the case of a soft potentiometer (where the name SoftPot comes from), we are altering the resistance of the voltage divider by physically depressing the potentiometer, thereby changing the resistance at a contact point. The working principle is exactly the same, but in the SoftPot’s case, we are pressing, and for a knob we are rotating.
Read More
